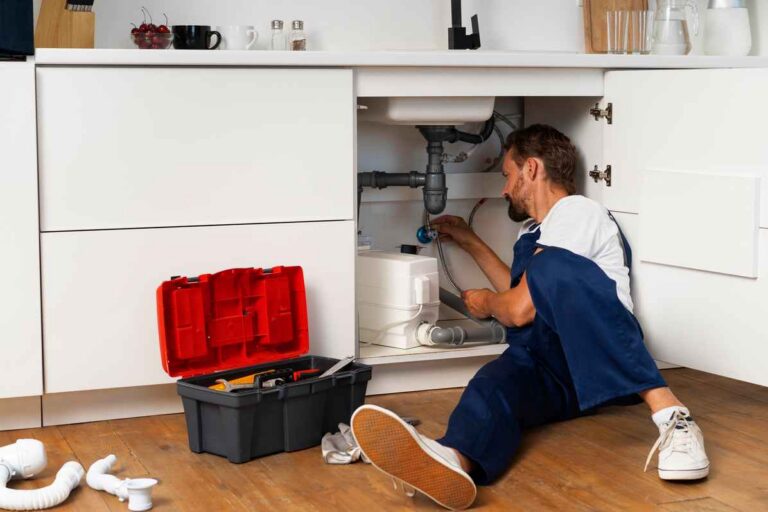
A garbage disposal is a valuable and necessary appliance in our home. Being able to dispose of food waste may decrease the volume of organic waste in your trash, making it simpler to manage and less likely to develop unpleasant odors. However, it can be tricky if you have never done a garbage disposal installation before.
You will need the tools listed in this DIY Guide on garbage disposal installation to accomplish the work effectively. You can install a new unit of garbage disposal yourself with a bit of perseverance and some helpful equipment, saving yourself the cost of hiring licensed plumbers or the weeks of waiting for delivery service.
Choosing the Right Garbage Disposal
Before starting the installation process, it’s essential to choose the correct garbage disposals for your needs. Consider the size of your sink and the amount of food waste you generate to determine the appropriate horsepower for your unit.
Additionally, consider whether a continuous feed garbage disposal or batch feed garbage disposal is better for your home. Remember that continuous feed garbage disposals are more convenient for frequent use, while batch feed models offer added safety for homes with children.
It’s crucial to research the many brands and models like Waste King or Moen to choose the finest choice for your house. Consider the garbage disposal cost, the warranty, and the garbage disposal installation cost that may be significant when choosing models. Look for models with good ratings and favorable user reviews.
You can also get advice from licensed electricians or plumbers before your garbage disposal is installed. Usually, a professional can take one to four hours to install a garbage disposal.
Gathering Necessary Tools For Garbage Disposal Installation
Before starting the garbage disposal installation process, gathering all the necessary tools and materials is essential. You will need the following:
- Garbage disposal unit
- Sink mount assembly
- Discharge tube
- Mounting ring and snap ring
- Plumber’s putty
- Discharge pipe
- Power cord
- Basic tools such as a screwdriver, adjustable wrench, and pliers
Having all the necessary tools on hand will make the garbage disposal replacement and installation process smoother and ensure that you don’t have to make any trips to the hardware store in the middle of the project. With everything in place, you can confidently remove your old disposal and install your new garbage disposal unit.
Installing Sink Mounting Assembly
Installing the sink mounting assembly is the first step in to install a garbage disposal. In addition to making it simpler to attach the discharge tube and electrical outlet, this will secure the device to the sink.
First, remove the old unit mounting assembly to replace a garbage disposal. For the new assembly to fit snugly, clean the area around the drain. After that, attach the mounting assembly to the drain by placing it there and tightening the mounting screws.
Take your time and ensure the assembly is firmly connected to the sink because this step is essential to the stability of the unit.
Attaching Discharge Tube To Sink Drain
The discharge tube needs to be connected to the drain after the sink mounting component is in place. Food waste is transported by this tube from the disposal to the sewage or septic system.
Start by tightening the connection between the discharge tube and the sink drain. The discharge tube should then be inserted into the pipe, and the pipe connection should be tightened.
As any breaches in this connection could result in water damage and sewage backups, it’s crucial to ensure the discharge tube is firmly fastened to both the sink drain and discharge pipe.
Securing Unit With Mounting Ring and Snap Ring
The mounting ring and snap ring are used to attach the device to the sink at the following stage in the installation process. The unit won’t move or shift while in operation thanks to these two parts holding it in place.
The mounting ring should be attached to the disposal and fastened with screws. The snap ring should then be placed over the mounting ring and tightened to hold the unit in place. To prevent any problems with the unit shifting or moving while in operation, it is crucial to ensure it is firmly fixed to the sink.
Adding Plumber’s Putty To Sink Flange
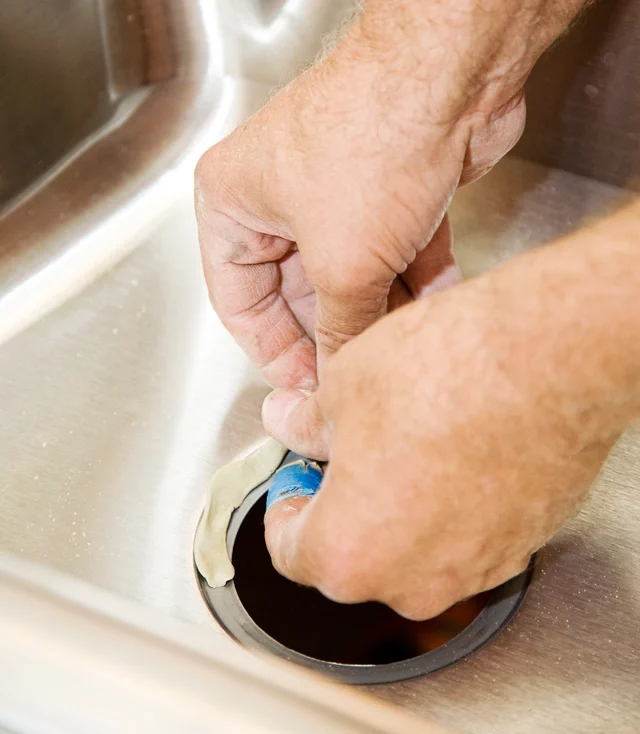
The sink flange will now be covered in the plumber’s putty in the following stage of installation. Doing this can stop food scraps or water from leaking through the pipe connecting the sink and garbage disposal.
Start cleaning the area around the sink flange to guarantee a tight fit for the plumber’s putty. After that, putty the sink flange by applying a tiny amount and spreading it out evenly.
Ensure the plumber’s putty is uniformly distributed and covers the area surrounding the sink flange. You can eliminate any excess plumber’s putty if there is too much before it dries.
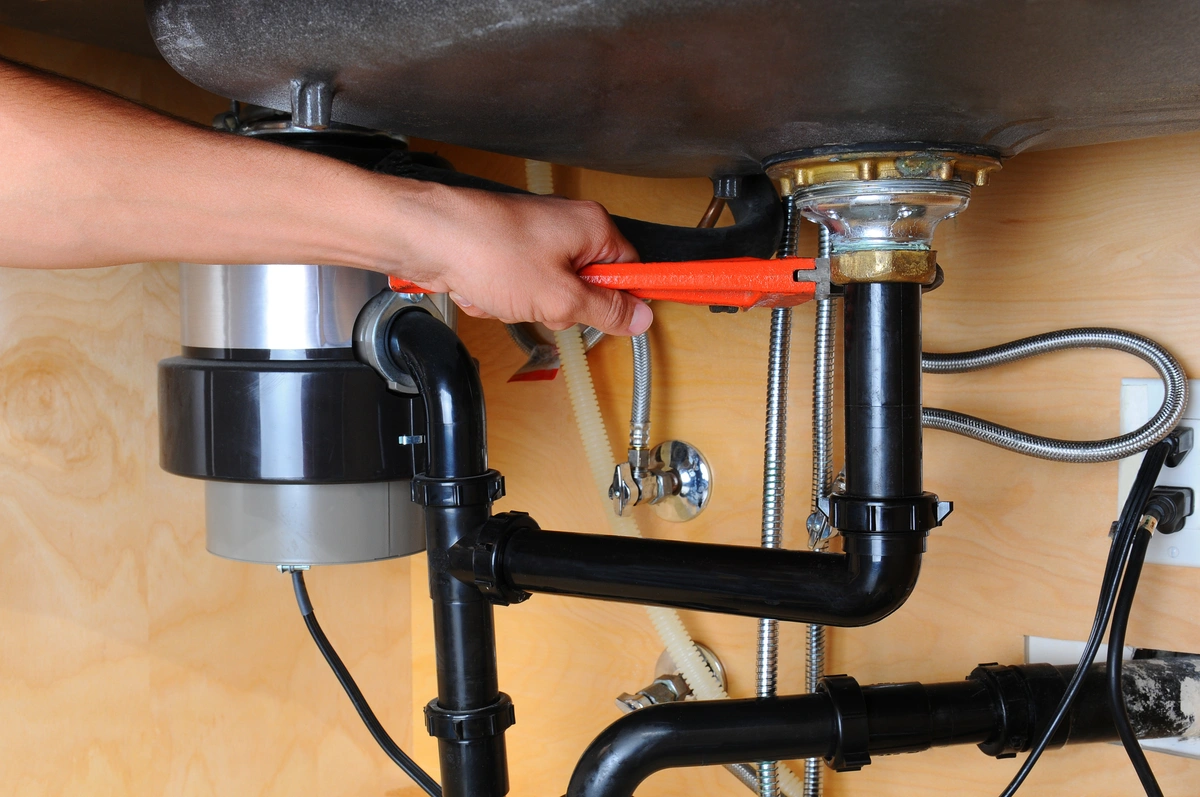
Connecting Discharge Pipe
It’s time to connect the discharge pipe after the plumber’s putty has been applied. The discharge pipe transfers food waste from the disposal to the sewer line or septic tank.
Start by tightening the connection between the discharge pipe and the discharge tube. After that, connect the discharge pipe’s other end to the septic system or sewer line and tighten the connection.
It’s crucial to ensure that the discharge pipe is tightly connected to the sewer line or septic system and the discharge tube to prevent water damage on your disposal and sewage backups.
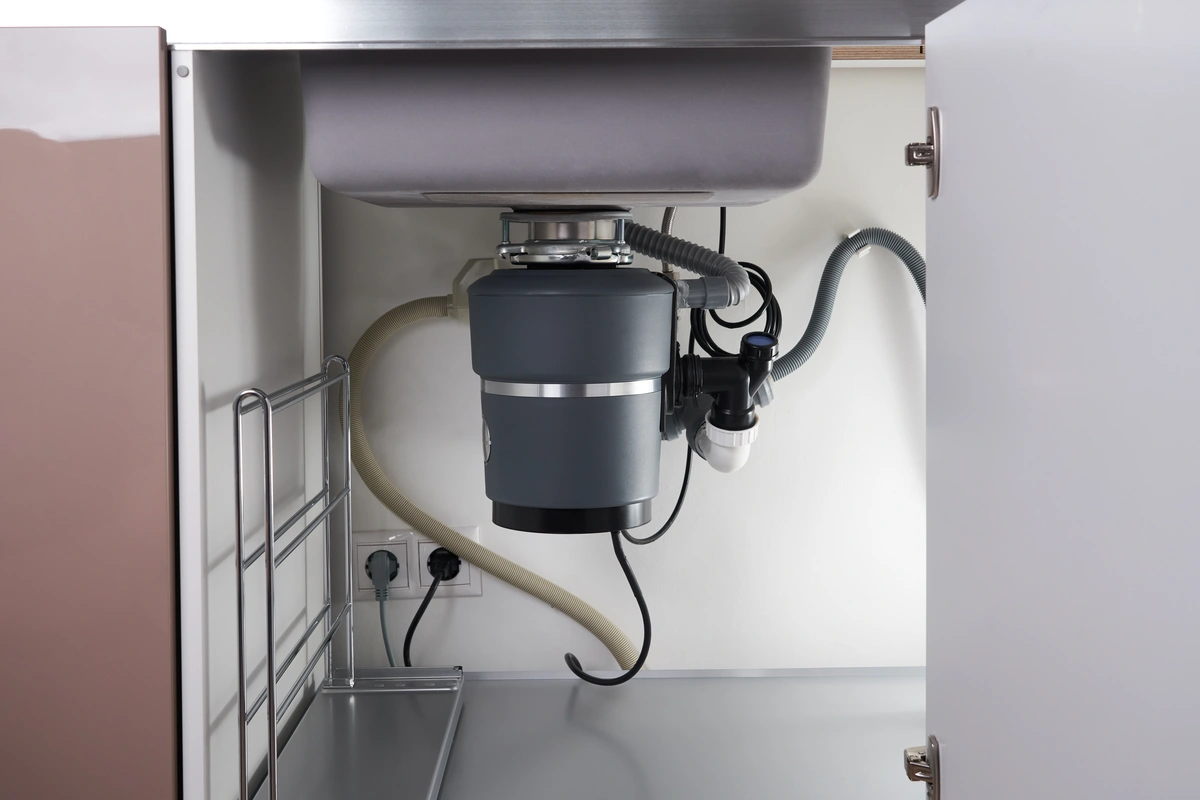
Plugging in the Power Cord
It’s time to plug in the power cord after the disposal has been set up and the discharge pipe has been attached. This will provide the appliance power, enabling it to switch on and eliminate food waste.
Find a nearby electrical outlet first, and before plugging in the power cord, make sure the circuit breaker is off. After that, flip the circuit breaker back on and insert the power cord into the outlet.
Ensure the power cord is firmly inserted into the outlet because any loose connections could render the device inoperable or pose an electrical threat. Before resetting the circuit breaker, take your time and make sure the power cord is inserted correctly.
Maintenance and Care of Garbage Disposals
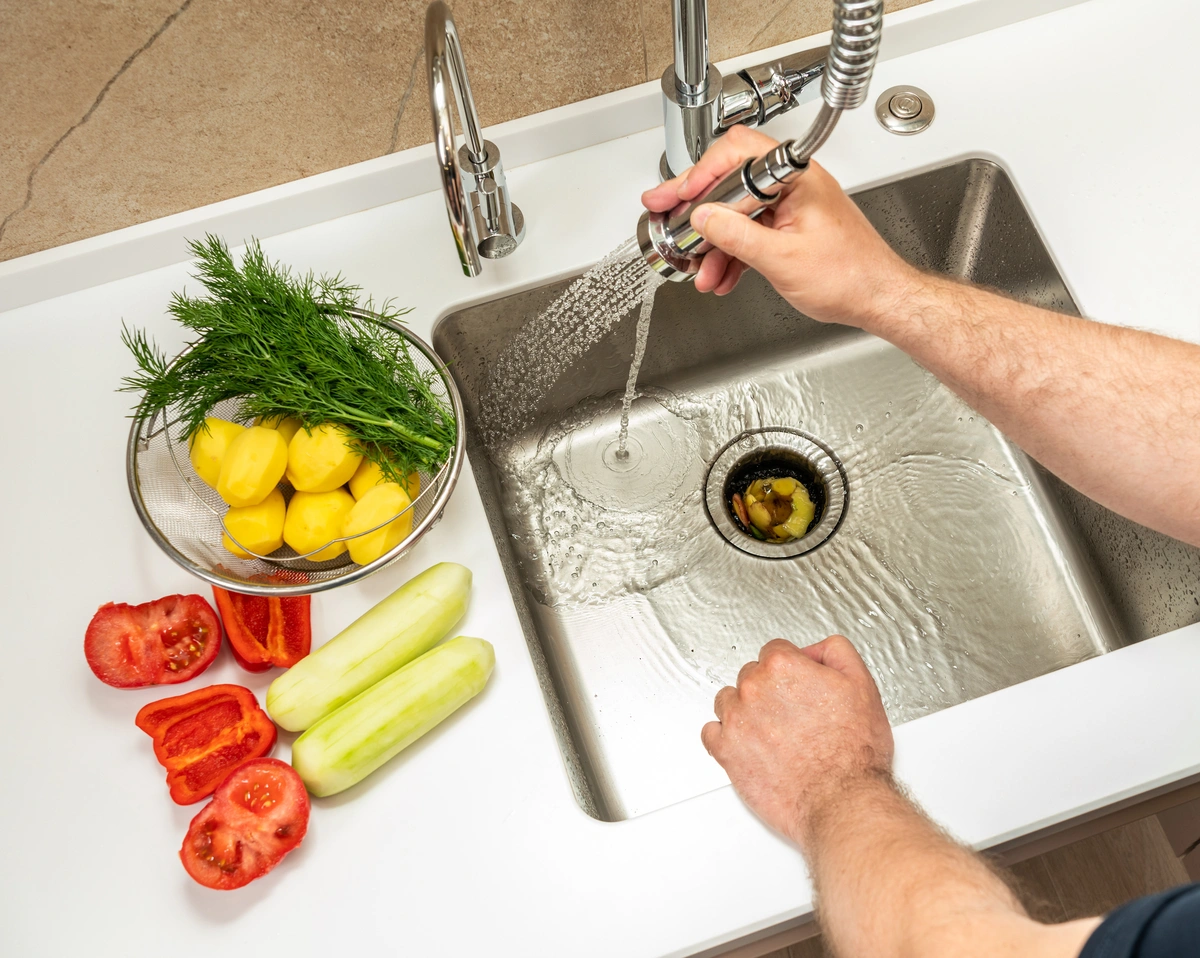
Now that your new disposal unit is working correctly, it’s essential to maintain and care for it to keep it working properly.
Regular maintenance and cleaning will help prevent clogs and unnecessary labor costs and extend the life of your disposal unit. To clean, simply run water and turn on the disposal to grind up any food scraps or small items that may have accumulated.
It’s also important to avoid putting certain items down the disposal, such as grease, bones, and fibrous materials like corn husks, which can cause clogs or damage the unit. Your garbage disposal will provide years of reliable service with proper maintenance and care.