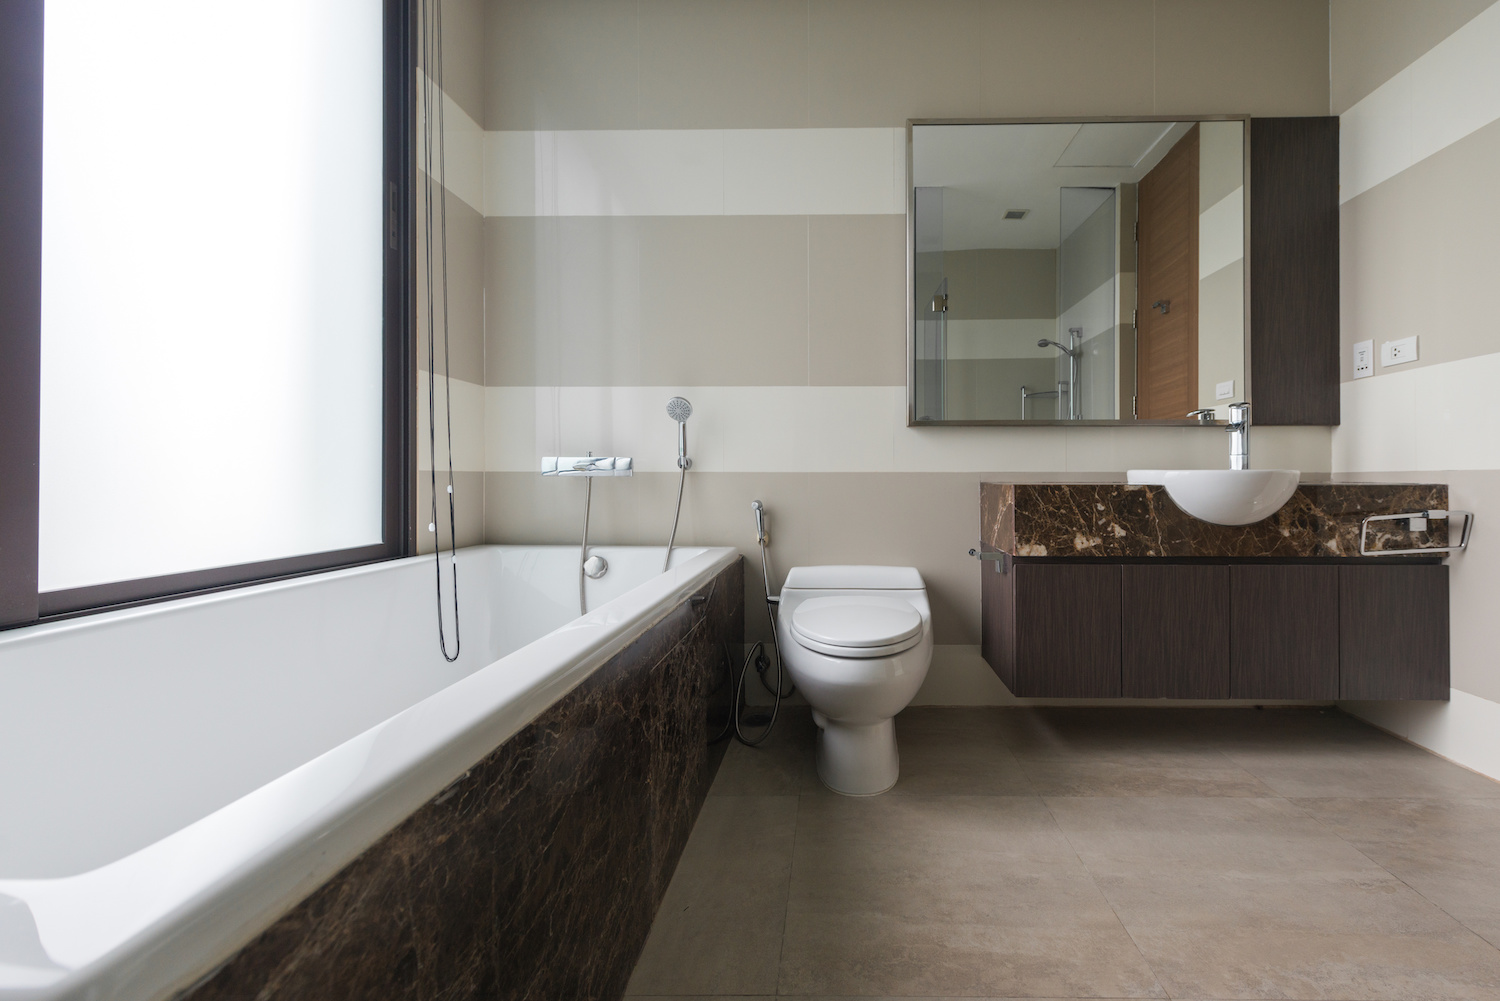
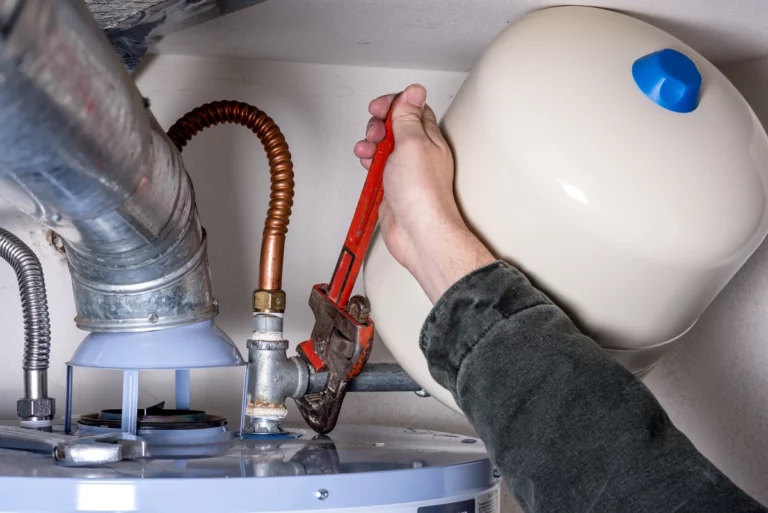
Installing a new toilet might seem like a job best left to professionals, but with a bit of patience and the right tools, it’s a DIY project you can tackle confidently. Whether you’re replacing an old toilet, upgrading to a modern model, or installing one in a new bathroom, this guide will walk you through the entire process.
By the end, you’ll have a fully functional toilet and the satisfaction of having done it yourself. Let’s get started!
Why Install a New Toilet?
Before diving into the installation process, let’s explore some reasons why you might want to install a new toilet:
- Replacing an Old or Damaged Toilet: If your toilet is leaking, cracked, or outdated, installing a new one can improve efficiency and aesthetics.
- Upgrading for Better Performance: Modern toilets use less water and offer advanced features like dual-flush systems or comfort-height designs.
- New Construction or Remodeling: Installing a toilet in a new bathroom or during a remodel is an essential step in completing your space.
Tools and Materials You’ll Need
Before you begin, gather the following tools and materials:
- Adjustable wrench or socket wrench
- Flathead and Phillips screwdrivers
- Plumber’s tape (Teflon tape)
- Wax ring (or a rubber gasket alternative)
- Toilet bolts and caps
- Level
- Bucket and sponge
- Towels or rags
- Putty knife or scraper
- Silicone caulk (optional)
These items will help ensure a smooth installation process.
Step 1: Prepare the Area
If you’re replacing an old toilet, start by removing it. Once the old toilet is out, follow these steps to prepare the area for the new installation:
- Inspect the Flange: The toilet flange is the pipe fitting that connects the toilet to the drain. Ensure it’s in good condition. If it’s cracked or damaged, replace it before proceeding.
- Clean the Area: Scrape off any old wax residue from the flange using a putty knife. Wipe the area clean with a rag.
- Install New Bolts: Insert the new toilet bolts into the flange, ensuring they’re evenly spaced and upright.
Step 2: Position the Wax Ring
The wax ring creates a watertight seal between the toilet and the drainpipe. Here’s how to install it:
- Choose Your Wax Ring: You can use a traditional wax ring or opt for a wax-free alternative if you prefer a less messy option.
- Place the Wax Ring on the Toilet: Some prefer placing the wax ring on the flange, but it’s often easier to position it on the bottom of the toilet bowl outlet.
- Press Gently: Ensure the ring is centered and securely attached.
Step 3: Position the Toilet
Now it’s time to set the toilet in place:
- Align the Bolts: Carefully lift the toilet and lower it onto the flange, aligning the bolt holes on the base with the bolts sticking up from the flange.
- Rock the Toilet Gently: Once in place, press down gently and rock the toilet slightly to compress the wax ring and create a tight seal.
- Check for Levelness: Use a level to ensure the toilet is sitting evenly. If it’s not level, use shims to make adjustments.
Step 4: Secure the Toilet
With the toilet properly positioned, it’s time to secure it to the floor:
- Tighten the Nuts: Place washers and nuts onto the bolts and tighten them using a wrench. Be careful not to overtighten, as this can crack the toilet base.
- Trim the Bolts: If the bolts are too long, use a hacksaw to trim them to the correct height.
- Attach Bolt Caps: Snap the decorative caps onto the bolts for a clean, finished look.
Step 5: Attach the Tank (If Applicable)
If your toilet comes in two pieces (tank and bowl), you’ll need to attach the tank separately:
- Position the Tank: Place the tank on the bowl, aligning the holes on the bottom of the tank with the bolts on the bowl.
- Insert Bolts: Place rubber washers, metal washers, and nuts on the bolts. Tighten them evenly using a wrench.
- Check for Levelness: Ensure the tank sits level and doesn’t wobble. Adjust as needed.
Step 6: Connect the Water Supply
Now it’s time to connect your toilet to the water supply:
- Attach the Supply Line: Screw one end of the water supply line to the fill valve on the bottom of the tank and the other end to the shut-off valve on the wall.
- Use Plumber’s Tape: Wrap plumber’s tape around the threads to ensure a tight, leak-free connection.
- Turn On the Water: Slowly open the shut-off valve to allow water to fill the tank.
Step 7: Test for Leaks
Before you celebrate your successful installation, test for leaks:
- Flush the Toilet: Once the tank is full, flush the toilet a few times to ensure everything is working properly.
- Check for Leaks: Inspect the base of the toilet, the tank bolts, and the supply line connections for any signs of water leakage.
- Tighten Connections: If you notice any leaks, tighten the connections slightly or reapply plumber’s tape as needed.
Step 8: Apply Finishing Touches
To complete the installation, consider these final steps:
- Seal the Base: Apply a bead of silicone caulk around the base of the toilet for a finished look and to prevent water from seeping underneath. This step is optional but recommended.
- Install the Toilet Seat: Attach the toilet seat according to the manufacturer’s instructions, securing it with the provided bolts and nuts.
- Clean Up: Wipe down the toilet and surrounding area, disposing of any packaging or leftover materials.
Troubleshooting Common Issues
Even with careful installation, you might encounter some common problems:
- Toilet Wobbles: Use shims to stabilize the toilet, then apply caulk around the base to secure it.
- Persistent Leaks: Check the wax ring and flange bolts for proper installation. If leaks persist, you may need to replace the wax ring.
- Weak Flush: Ensure the water supply valve is fully open and check for any clogs in the toilet or drainpipe.
Conclusion: How to Install a Toilet
Installing a toilet may seem intimidating at first, but with the right tools and a clear step-by-step process, it’s a project that most homeowners can handle. Whether you’re upgrading to a new model or replacing an old one, following these instructions will help you achieve a successful installation.
Now that you know how to install a toilet, you’re ready to tackle your bathroom renovation with confidence!


