Winter brings cozy fires, hot cocoa, and festive cheer, but it also brings freezing temperatures that can wreak havoc on your home’s plumbing. Frozen pipes are a homeowner’s nightmare, leading to potential bursts, costly repairs, and water damage. But fear not! With some preparation and a few preventative steps, you can keep your pipes safe and sound throughout the chilly season.
This guide will cover everything you need to know about how to keep your pipes from freezing, from identifying vulnerable areas to implementing long-term solutions.
Why Frozen Pipes Are a Big Deal
Before diving into the prevention tips, it’s important to understand why frozen pipes are such a concern.
- Pressure Build-Up: When water freezes, it expands. This expansion can create significant pressure inside your pipes, causing them to crack or burst.
- Costly Repairs: A burst pipe can lead to extensive water damage, requiring expensive repairs to your plumbing, walls, and floors.
- Water Access: Frozen pipes can disrupt your water supply, leaving you without running water when you need it most.
Step 1: Identify Vulnerable Pipes
The first step in preventing frozen pipes is knowing which ones are most at risk.
Pipes at Risk:
- Exposed Pipes: Pipes in unheated areas like basements, crawl spaces, attics, garages, or along exterior walls.
- Outdoor Pipes: Hose bibs, sprinkler lines, and pool supply lines.
- Under-Insulated Pipes: Pipes in poorly insulated areas of the home.
Once you’ve identified these vulnerable spots, you can focus your efforts on protecting them.
Step 2: Insulate Your Pipes
Insulating your pipes is one of the most effective ways to prevent freezing.
How to Insulate Pipes:
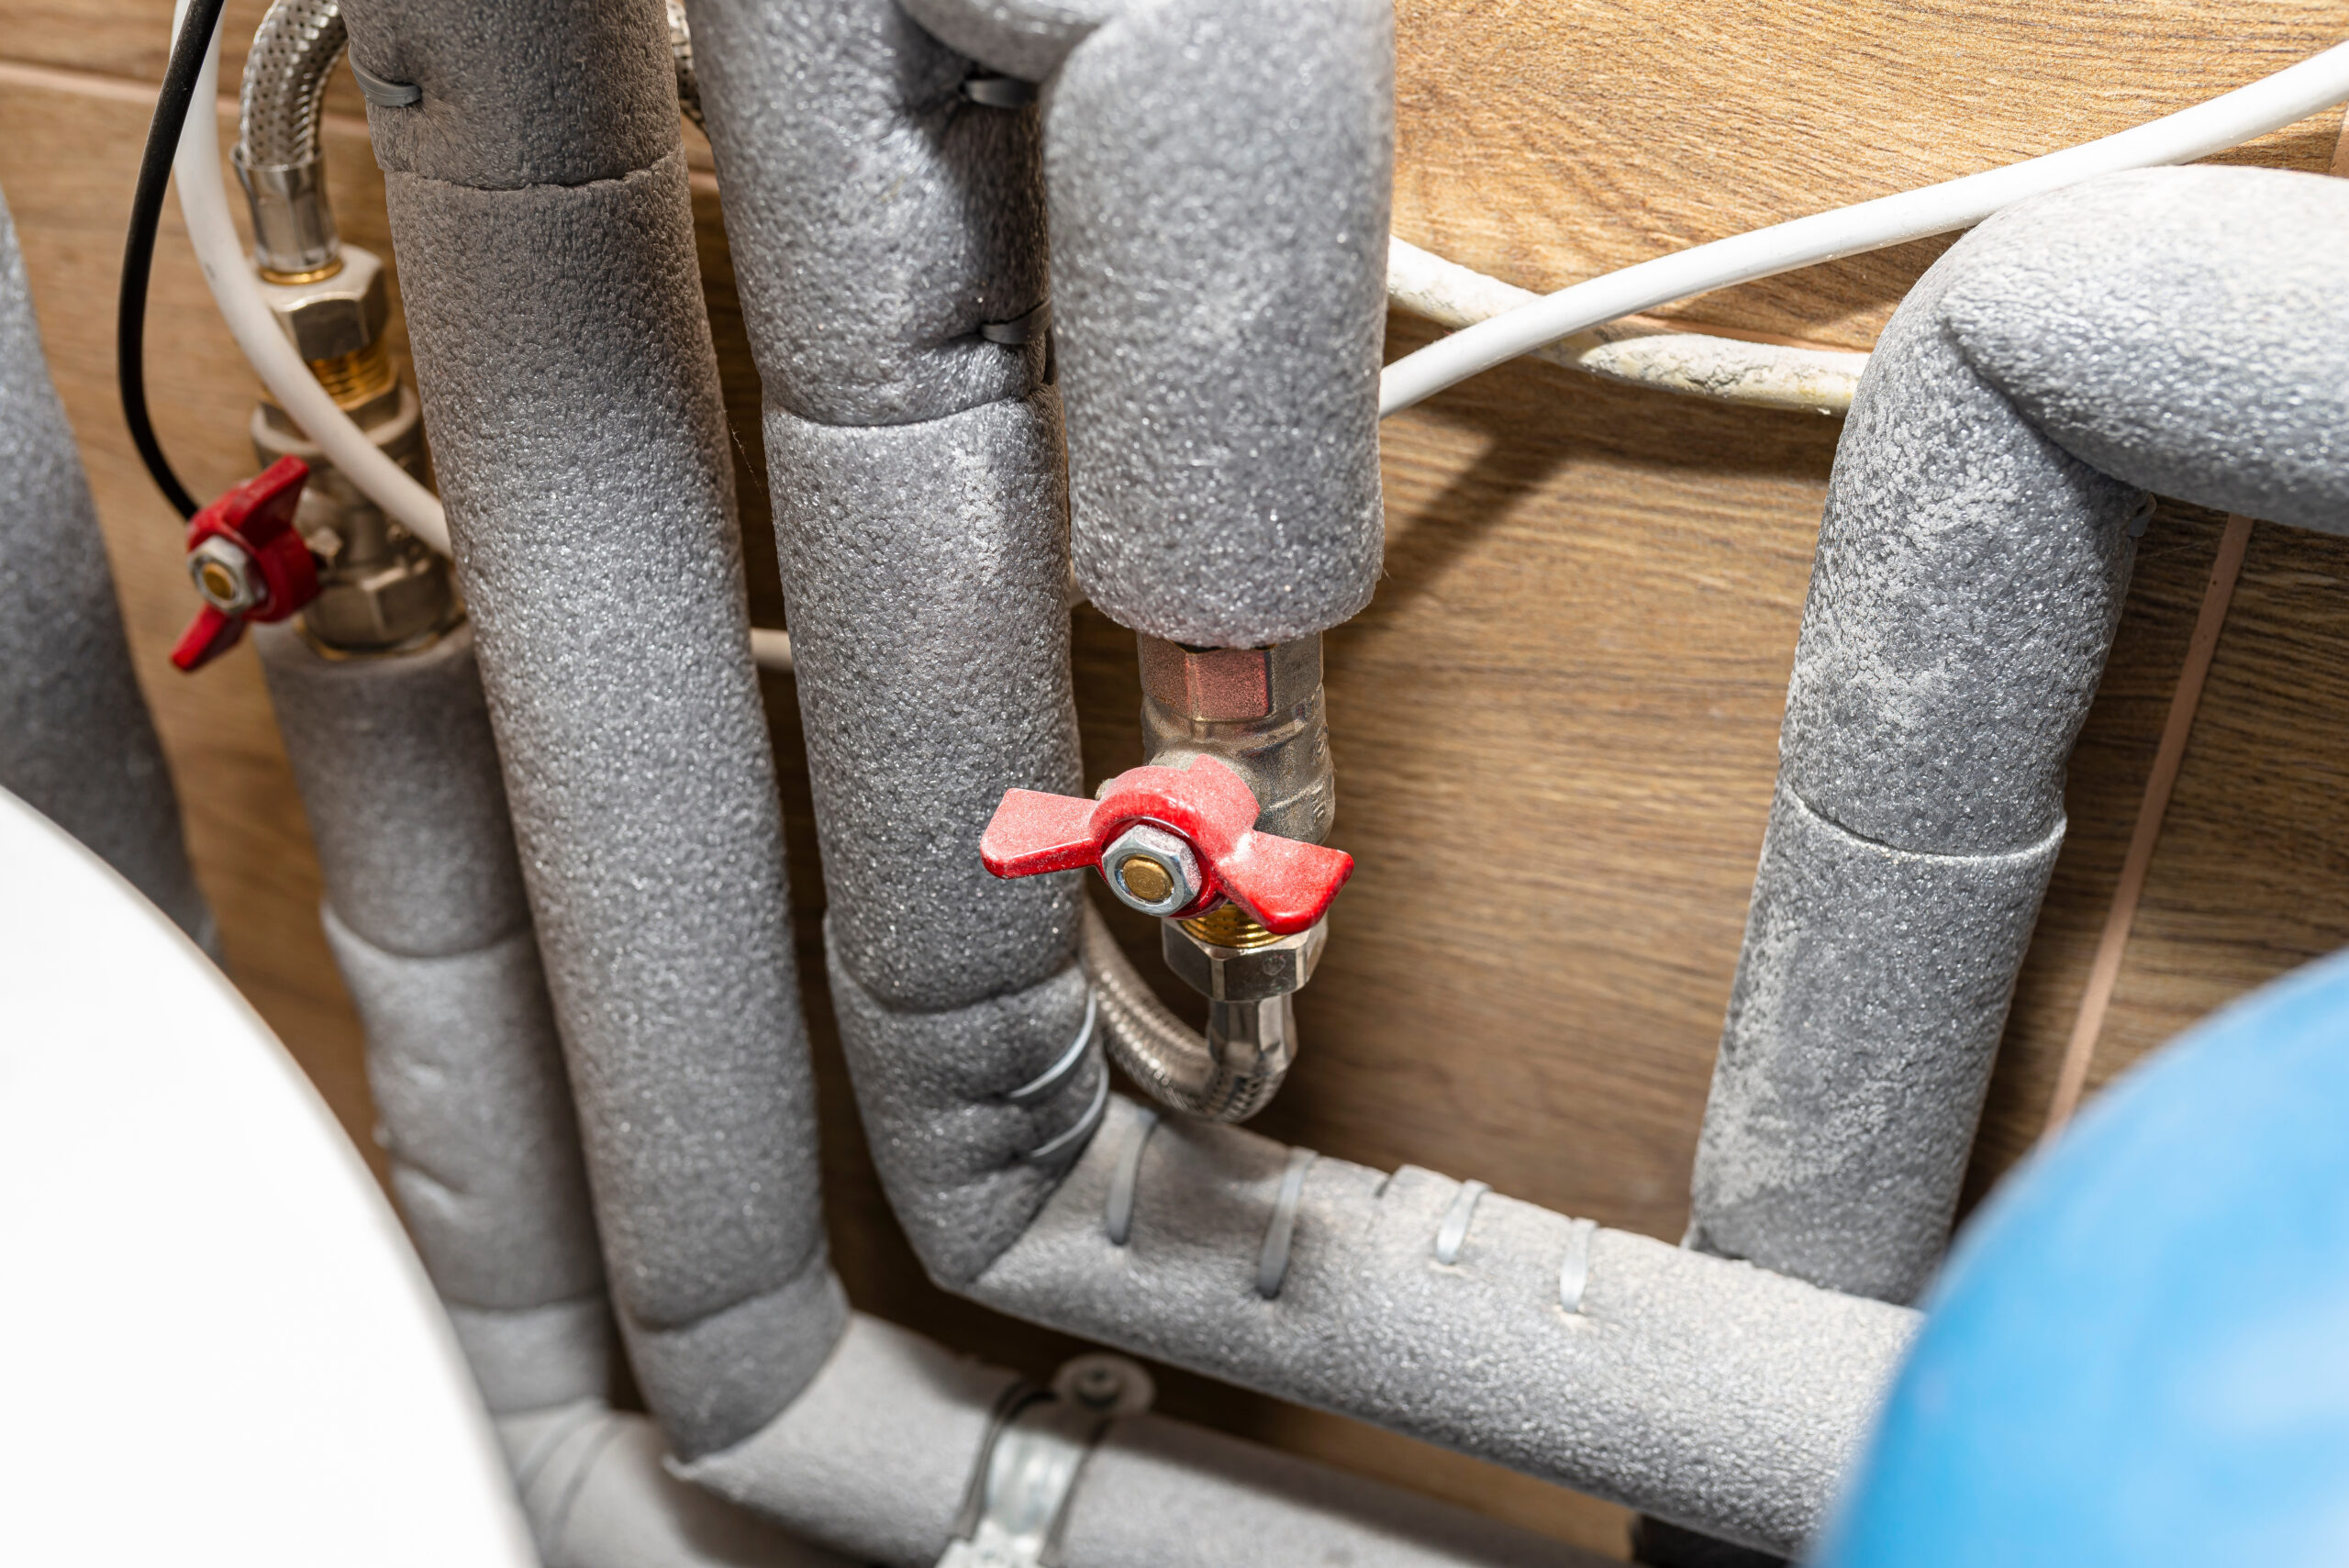
- Pipe Insulation Sleeves: Foam or rubber pipe sleeves are easy to install and provide an extra layer of protection.
- Heat Tape or Heat Cables: These electrically powered devices wrap around your pipes, providing consistent warmth.
- Insulation for Exterior Walls: Add insulation to walls where pipes run to keep the surrounding area warmer.
Be sure to secure the insulation tightly and cover any gaps for maximum protection.
Step 3: Keep the Heat On
Even if you’re not home, it’s crucial to maintain a consistent temperature inside your house.
Heating Tips:
- Set Your Thermostat: Keep your thermostat set to at least 55°F, even when you’re away.
- Open Interior Doors: Allow warm air to circulate by opening doors to rooms with plumbing.
- Space Heaters: Use space heaters in unheated areas like basements or garages to keep pipes warm.
Remember, a little extra on your heating bill is far cheaper than repairing burst pipes.
Step 4: Let Faucets Drip
Allowing your faucets to drip slightly can prevent freezing in two ways:
- Relieves Pressure: A small flow of water reduces pressure buildup in the pipes, even if they do freeze.
- Promotes Movement: Running water is less likely to freeze than still water.
Target faucets connected to vulnerable pipes, especially those along exterior walls.
Step 5: Seal Leaks and Drafts
Cold air seeping into your home can increase the risk of frozen pipes. Seal any leaks or drafts to keep the cold out and the warmth in.
Areas to Check:
- Windows and Doors: Use weather stripping or caulk to seal gaps.
- Basement and Crawl Space Openings: Insulate or cover openings with foam board or plastic sheeting.
- Pipe Penetrations: Seal gaps around pipes entering or exiting your home with expanding foam or caulk.
Reducing drafts will not only protect your pipes but also improve your home’s overall energy efficiency.
Step 6: Drain Outdoor Water Lines
Water left in outdoor pipes can freeze and cause damage. Before the temperature drops, take these steps:
- Disconnect Hoses: Drain and store garden hoses for the winter.
- Shut Off Outdoor Faucets: Locate the shut-off valve for outdoor faucets and turn it off.
- Drain Sprinkler Systems: Follow your system’s manufacturer guidelines for winterizing.
Consider installing frost-free spigots or hose bib covers for added protection.
Step 7: Know How to Thaw Frozen Pipes
Despite your best efforts, pipes may still freeze during extreme cold snaps. Knowing how to safely thaw them can prevent further damage.
Steps to Thaw Frozen Pipes:
- Turn Off the Water: Shut off the main water supply to prevent flooding in case the pipe bursts.
- Open Faucets: Open the affected faucet to allow water to flow once the ice begins to melt.
- Apply Heat: Use a hairdryer, heating pad, or portable heater to warm the frozen section. Never use an open flame.
- Check for Leaks: Once the pipe is thawed, carefully inspect it for cracks or leaks before turning the water back on.
If you’re unable to thaw the pipe or suspect a burst, call a professional plumber immediately.
Step 8: Implement Long-Term Solutions
For a more permanent fix, consider these long-term strategies:
- Re-route Pipes: Move pipes away from exterior walls or unheated areas to reduce exposure to cold.
- Upgrade Insulation: Invest in better insulation for your home, especially in areas like the attic, basement, and crawl spaces.
- Install Smart Thermostats: Smart thermostats can help you monitor and maintain consistent temperatures, even when you’re away.
These investments will protect your pipes and improve your home’s energy efficiency.
Conclusion: How to Keep Pipes from Freezing
Winter weather doesn’t have to spell disaster for your plumbing. By following these preventative steps, you can keep your pipes safe and avoid costly repairs. From insulating your pipes to letting faucets drip, every small action helps protect your home.
So, before the first freeze hits, take the time to winterize your plumbing. Your pipes—and your wallet—will thank you!


