Plumbing is one of those jobs that most people leave to professionals. The fear of getting things wrong and dealing with costly repairs prevents them from attempting this DIY project. However, a little knowledge about plumbing makes it possible for any homeowner to plumb their bathroom effectively.
With this guide, we’ll provide easy-to-follow instructions for plumbing your bathroom. From preparing an accurate material list to using your existing pipes correctly, these tips will help make sure that your first attempt at plumbing won’t result in an expensive mess.
How To Plumb A Bathroom
Plumbing a bathroom is a complex process that involves several steps to ensure proper installation and functionality of the bathroom fixtures and pipes. The steps involved in plumbing a bathroom typically include the following:
Step 1: Get the Necessary Tools Ready
Here are some of the essential tools that you will need to plumb a bathroom:
- Adjustable wrench
- Basin wrench
- Pipe wrench
- Pliers
- Hacksaw
- Teflon tape
- Plumber’s putty
- Silicone sealant
- Stud finder
- Level
These are just some essential tools to start your bathroom do-it-yourself plumbing project.
Step 2: Prepare the Space
Here are some steps to follow when preparing your space for a plumbing project:
Turn off the Water Supply
Before starting any plumbing work, you’ll need to turn off the water supply to the bathroom. This can typically be done by turning off the main water valve in your home or apartment.
Look for a shut-off valve near the fixture to turn off the water supply to a sink, toilet, or shower. The valve is typically located on the water supply line leading to the fixture and may be under the bathroom sink, behind the toilet, or in a nearby utility closet. Once you’ve located the valve, turn it clockwise to shut off the water supply to the fixture.
If you cannot locate a shut-off valve for a specific fixture or need to turn off the water supply to the entire bathroom, you can turn off the main water valve for your home. This valve is typically located near the water meter and may require a unique tool to turn off.
Remove Fixtures and Accessories
If you’re replacing existing bathroom plumbing fixtures, you’ll need to remove them from the bathroom. This can include sinks, toilets, showers, and accessories like towel bars and toilet paper holders.
Plan Your Plumbing Layout
Before starting any installation work, you’ll need to plan out the layout of your plumbing system. This can involve measuring and marking the locations of pipes, fittings, and fixtures and identifying potential obstacles or challenges.
Install New Plumbing Components
Once you’ve planned your plumbing layout and prepared your workspace, you can install new plumbing components. This can involve connecting pipes, fittings, and fixtures, testing for leaks, and ensuring everything is properly secured and aligned.
Step 3: Start the Installation
After preparing the space for your bathroom plumbing project, the next step is to start the installation.
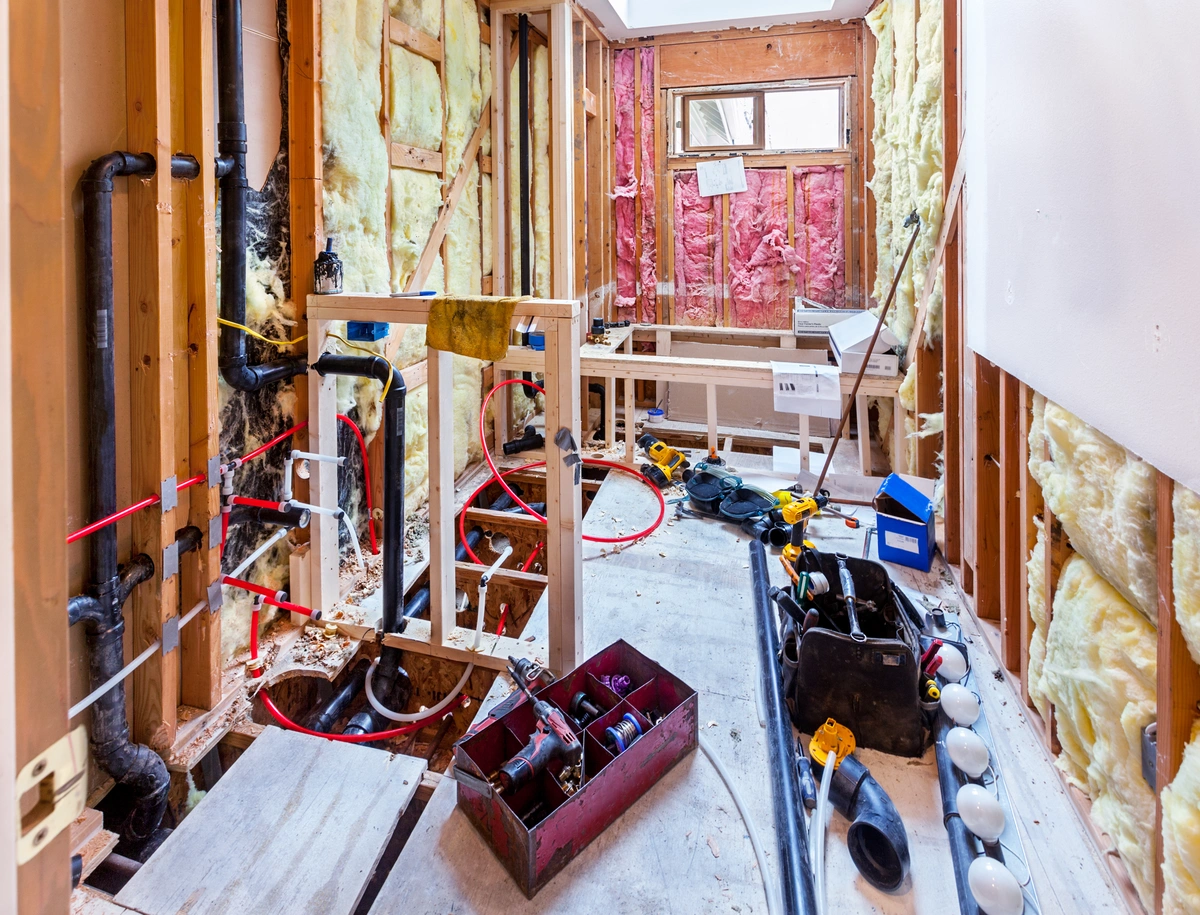
Installing the Drain Pipe and Toilet Flange
When installing the drain vertical/horizontal pipe, it’s important to measure carefully before cutting holes in the wall for pipes and fixtures. The central drain line should be connected from the basement or lower level to each floor until it reaches its final destination at the main sewage line.
A vertical pipe should also be installed between floors with proper ventilation for air circulation.
The toilet flange is then secured to the floor using screws or bolts around its circumference, which connects it directly to the existing drain line below. This ensures that wastewater will flow out without any obstruction or leakage issues.
Ensuring all connections are tight before installing other fixtures like sinks, showers, or tubs is essential.
Also, remember those sink drains – these require unique closet bends that hook up neatly into place while still allowing enough room underneath so there isn’t any blockage when draining away wastewater afterward.
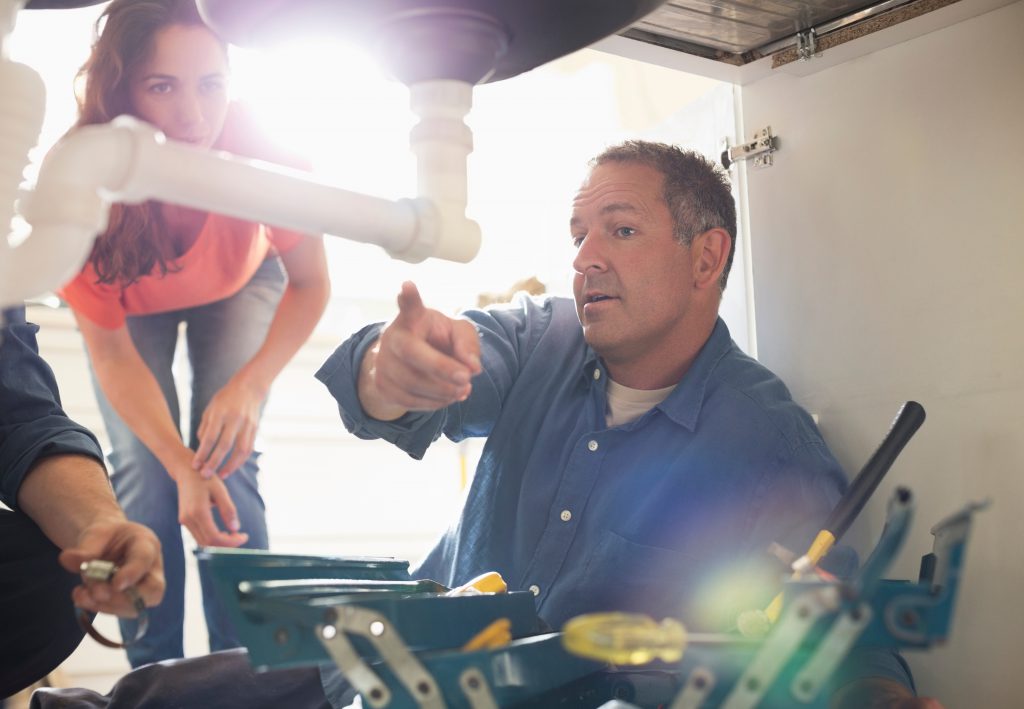
Connecting Water Supply Lines and Installing Fixtures
Remodeling a bathroom requires expert knowledge in connecting water supply plumbing lines and installing fixtures. Plumbers must be well-versed in international plumbing codes, which dictate proper installation procedures for bathrooms of any scale, from intimate half-baths to large spaces with multiple fixtures.
Each connection must be secure and leak-free when connecting the water supply lines to valves and fixtures. The central drain line should be connected first, followed by the toilet drain or shower drain. Toilet flanges should be installed on existing drain lines before connecting them to the main sewage line.
The next step is installing faucets for sinks, showers, or tubs. The fixtures must be securely attached to not become unstable due to water pressure or vibrations from other machines nearby.
Vertical pipes must also be sealed appropriately using flush bushings when connecting them with closet bends at 90-degree angles for proper drainage lines leading away from the fixture. Additionally, adequate ventilation must be provided through the existing vent pipe for air to escape as wastewater flows into the central sewer system; otherwise, unpleasant odors could come back into your home.
Once the water supply lines and fixtures are installed, it’s time to seal them with caulk. Adding caulk around pipes and fixtures will help ensure a secure seal before testing for leaks with a pressure gauge.
Do Horizontal Plumbing Vents Need To Be Sloped?
Horizontal plumbing vents should be sloped to ensure proper drainage and prevent water or debris accumulation. If the vent is not sloped, it can cause water to pool in low spots, leading to debris buildup and bacteria growth, resulting in foul odors and potential clogs.
The International Plumbing Code (IPC) requires horizontal vent lines to slope at a minimum of 1/4 inch per foot (2% slope) to ensure proper drainage. This slope will allow the vent to drain any moisture that may accumulate and prevent blockages from occurring.
If you are installing a new plumbing vent, be sure to slope it correctly during the installation process. If you notice an existing vent that is not sloped, it is recommended to call a licensed plumber to assess the issue and make any necessary repairs or adjustments.
Final Thoughts
You can effectively finish learning how to plumb a bathroom by yourself if you are patient and pay close attention to detail.
Take on the challenge and educate yourself about proper bathroom plumbing. You can complete this assignment with the necessary equipment, information, and commitment!