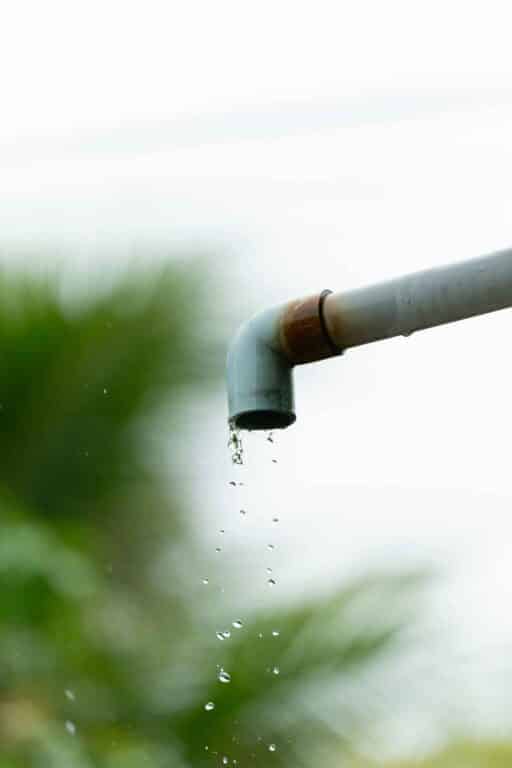
Of all the places in your home where water leaks can occur, the leaky drain flange assembly under the bathroom sink is one of the most common culprits. A leaky sink drain assembly or leaky sink drain flange from under the bathroom sink can be caused by various issues, ranging from a loose connection to a damaged pipe. Regardless of the cause, a bathroom sink or leak can be frustrating and potentially costly if not addressed promptly.
This blog post will explore three ways to fix a bathroom leak underneath the sink right now.
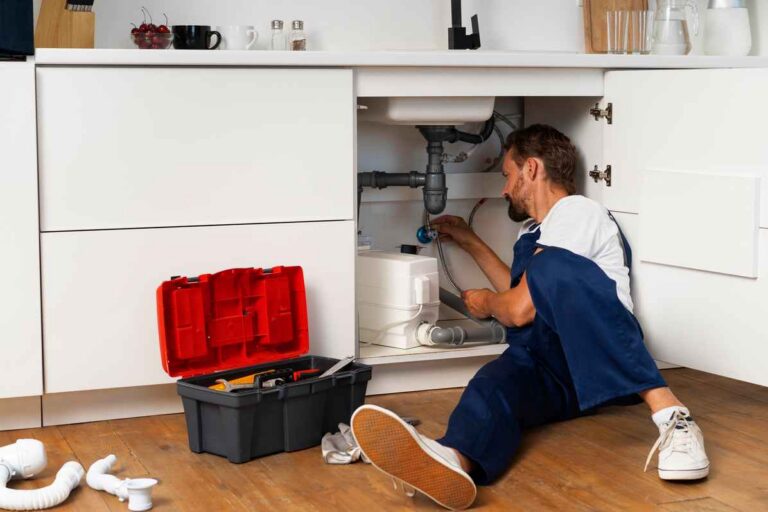
Prepare the Tools You’ll Need for Bathroom Sink Repair
Suppose you’re planning to fix a bathroom leak underneath the bathroom sink by yourself. In that case, there are several essential tools you’ll need to have on hand to get the job done effectively:
Pipe Wrench or Adjustable Pliers
You’ll need a pipe wrench or adjustable pliers to loosen and tighten the connections on the pipes under the bottom sink cabinet.
Teflon Tape
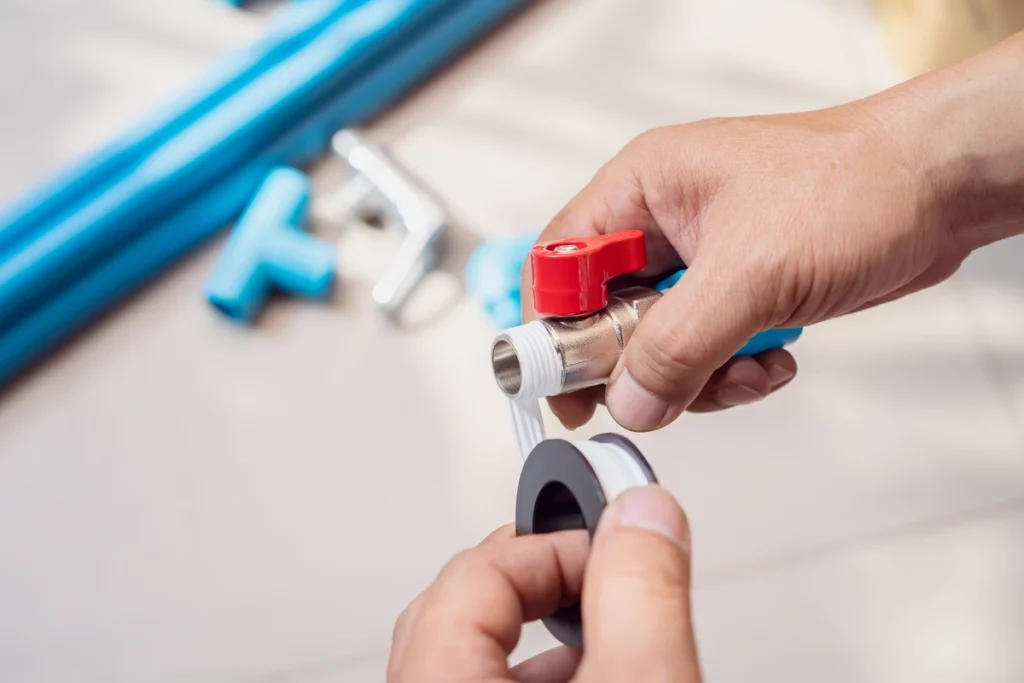
Teflon tape is a thin, white tape that seals threaded connections on pipes. It helps to prevent leaks by creating a tight seal between the threads.
Putty Knife
A putty knife can be used to remove old caulking or putty around defective parts of the sink or drain, which may need to be replaced to fix the leak.
Bucket or Basin
You’ll need a bucket or basin to catch any water leaking from the pipes as you work and to avoid water stains.
Safety Glasses
It’s always a good idea to wear safety glasses when working with pipes and plumbing, as this can help to protect your eyes from any debris or water that may splash up.
With these tools on hand, you’ll be well-equipped to tackle a bathroom leak underneath the sink and prevent further damage to your home.
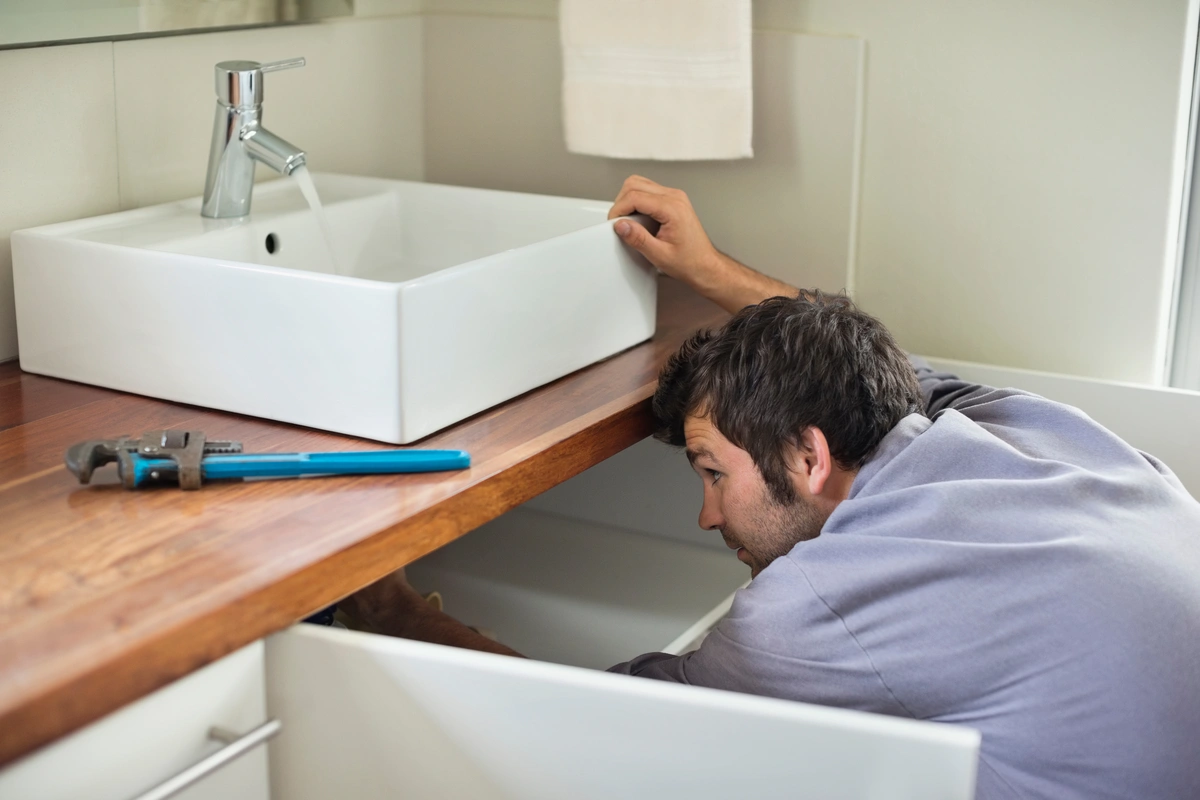
Tighten the Connections
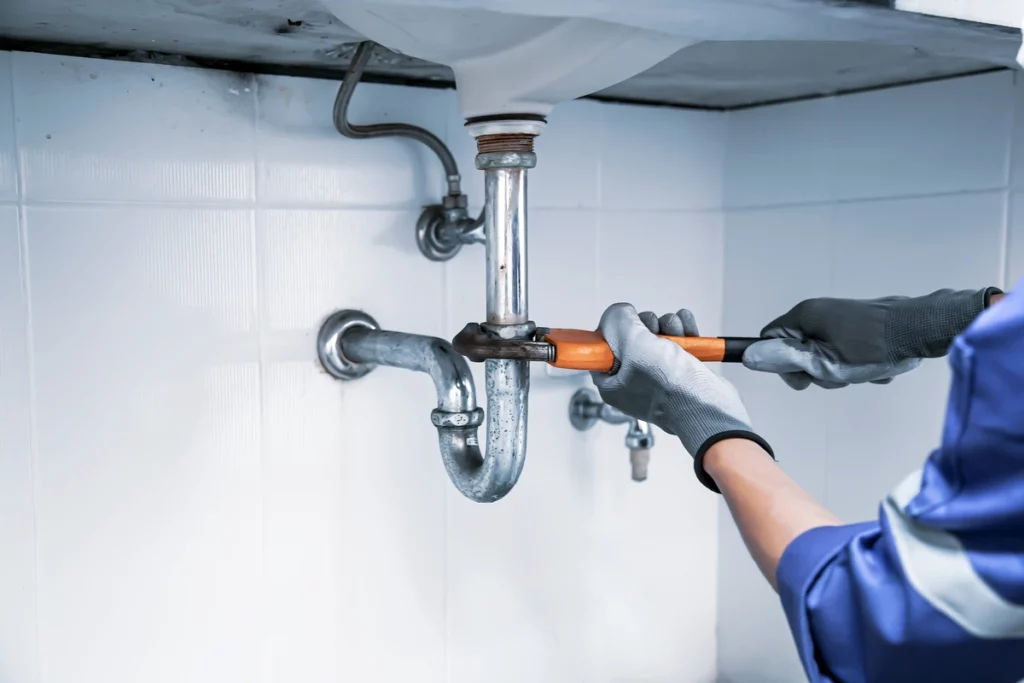
Loose connections are among the most common causes of a faucet or bathroom leak underneath the sink. To fix this issue, use a pipe wrench or adjustable pliers to tighten the connections of the sink trap and pipes.
Start by the sink drain and place paper towels, a bucket, or a basin underneath the leak to catch any water. Then, use the wrench or pliers to tighten the two drain connections by turning them clockwise. Be careful not to overtighten tight or lose pipe connections, which can cause the bad drain pipe connections to crack or break. Once you’ve tightened the two bad drainpipe connections, turn on the water to check for leaks. If the leak persists, move on to the next method.
Replace Damaged Washers
Another common cause of a bathroom sink trap leaking is a damaged washer. The washer is a small rubber ring between the drain assembly retaining nut and the pipe, creating a more watertight seal. Over time, the washer can become worn or damaged, causing water to leak out the sink trap between the retaining nut and pipe.
To replace a damaged washer:
- Start by turning off the water supply to the sink.
- Place a bucket or basin underneath the leak to catch water flows.
- Use a wrench or pliers to remove the nut holding the washer.
- Remove the old washer and replace it with a new one, ensuring it fits snugly.
- Reattach the nut and turn the water supply lines back on to check for leaks.
- Seal the sink rim.
If the leak comes from the area where the sink meets the countertop, it may be due to a faulty seal. To fix this issue, you must remove and reseal the sink.
Start by turning off the water supply to the sink drain. Then, use a putty knife to carefully remove the old caulking or putty around the wall drainpipe and the sink drain rim. Next, remove the sink drain by loosening the clips holding it in place. Finally, clean the area around the sink drain and the countertop with a mild cleaner and let it dry completely.
Apply a new bead of silicone caulking around the edge of the slip nut connecting the sink drain pipe and drain threads to the bottom sink drain fitting and press it firmly into place. Use a damp cloth or your finger to smooth out any excess caulking. Finally, reattach slip nuts to the bottom sink pipe compression fitting, drain, and clips, and turn on the water to check for leaks.
Should You Call a Professional Plumber?

If you’ve tried the three fast and easy ways to fix a bathroom leak underneath the sink and the leak persists, it may be time to call a professional plumber. Here are some reasons why:
More Complex Issues in Sink Cabinet
While loose connections and damaged washers are common causes of bathroom sink leaks, other, more complex issues may be at play with leaking drain pipes. For example, a crack or hole in one of the pipe connections between the pipes may be difficult to diagnose and repair without professional equipment and expertise.
Risk of Damage Due to Bathroom Sink Leaks
Plumbing repairs can be tricky, and even a small mistake can lead to bigger problems. For example, overtightening a connection or leaking pipe can cause it to crack or break, leading to leaks and potential water damage.
Warranty protection
If your plumbing system or leaking pipe is under warranty, attempting repairs to the leaking pipe yourself can void the warranty. By hiring a professional plumber, you can ensure that the repairs to leaking pipes are completed correctly and in compliance with the warranty terms.
Conclusion
While DIY repairs can be tempting, knowing when to call a professional plumber is important. If you’re unsure how to proceed or the leak is more complex than a loose connection, leaking pipe, or damaged washer, don’t hesitate to contact a professional. They will have the expertise, tools, and experience needed to fix the issue quickly and effectively, minimizing the risk of further damage to your home.