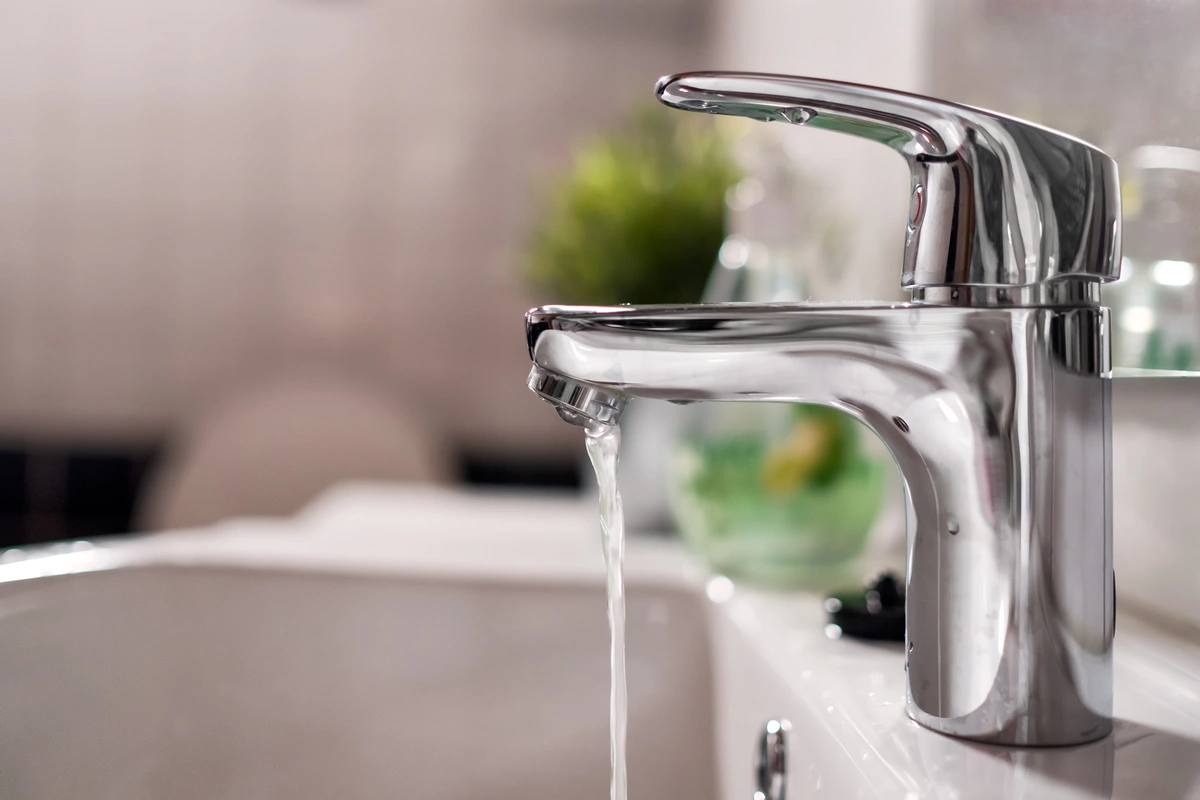
Replacing a bathtub faucet might seem like a daunting task, but it’s simpler than you think! Whether your faucet is dripping, outdated, or just not your style, swapping it out is a DIY project you can tackle in an afternoon. Follow this easy, step-by-step guide to learn how to replace a bathtub faucet and give your bathroom a fresh look.
Why Replace a Bathtub Faucet?
Before we dive into the process, let’s talk about why you might want to replace your bathtub faucet:
- Leaks and Drips: A constant drip isn’t just annoying—it wastes water and increases your utility bill.
- Style Upgrade: Modern faucets can instantly elevate your bathroom’s aesthetic.
- Improved Functionality: Newer models often have better water flow and temperature control.
Whatever your reason, knowing how to replace a bathtub faucet will save you time and money.
Tools and Materials You’ll Need
Before you start, gather the following tools and materials:
- Adjustable wrench
- Screwdriver (flathead and Phillips)
- Plumber’s tape (Teflon tape)
- Allen wrench (if needed)
- Replacement faucet
- Silicone caulk (optional)
- Rag or towel
Step 1: Turn Off the Water Supply
The first and most important step is to turn off the water supply to avoid any unwelcome surprises.
How to Turn Off the Water:
- Locate the Water Shut-Off Valve: This may be near your water heater or under the sink.
- Turn Off the Main Water Supply: If you can’t find an individual shut-off valve, turn off the water supply to your entire house.
After shutting off the water, open the bathtub faucet to drain any remaining water.
Step 2: Remove the Old Faucet
Now it’s time to say goodbye to the old faucet.
1. Remove the Handle:
- Look for a small screw on the handle (it may be hidden under a decorative cap).
- Use a flathead screwdriver to pop off the cap, then unscrew the handle using an Allen wrench or screwdriver.
2. Unscrew the Escutcheon Plate:
- The escutcheon plate is the metal plate behind the faucet handle.
- Unscrew it and gently pull it away from the wall.
3. Detach the Faucet Spout:
- If it’s a screw-on spout, simply turn it counterclockwise with an adjustable wrench.
- For slip-on spouts, loosen the set screw underneath using an Allen wrench and slide the spout off.
Step 3: Prepare for the New Faucet
With the old faucet removed, you’re halfway there! Now, it’s time to prep the area for the new installation.
1. Clean the Area:
- Wipe down the exposed pipe and wall area to remove any debris or old caulk.
2. Check the Pipe:
- Inspect the pipe for any damage or corrosion. If you spot any issues, you might need to replace a section of the pipe before proceeding.
3. Apply Plumber’s Tape:
- Wrap plumber’s tape around the threaded end of the pipe to ensure a watertight seal.
Step 4: Install the New Faucet
Time to bring in the shiny new faucet!
1. Attach the Spout:
- For screw-on spouts, align the threads and turn the spout clockwise until it’s snug.
- For slip-on spouts, slide it onto the pipe and tighten the set screw underneath.
2. Install the Handle:
- Place the new handle onto the valve stem and secure it with the provided screw.
- If your faucet comes with a decorative cap, snap it into place.
3. Secure the Escutcheon Plate:
- Align the escutcheon plate with the handle and tighten it against the wall.
Step 5: Turn the Water Back On
Now that your new faucet is in place, it’s time to turn the water back on and test your work.
How to Turn On the Water:
- Slowly turn the main water supply back on to avoid sudden pressure surges.
- Open the bathtub faucet to check for leaks and ensure proper water flow.
Step 6: Seal and Finish
To give your installation a polished look and prevent water from seeping behind the faucet, apply a bead of silicone caulk around the escutcheon plate. Use a wet finger or a caulk smoothing tool to create a clean finish.
Troubleshooting Common Issues
Sometimes, things don’t go as smoothly as planned. Here’s how to handle common hiccups:
1. Water Leaks:
- If you notice a leak around the spout or handle, double-check that the plumber’s tape is applied correctly and the connections are tight.
2. Handle Sticking:
- If the handle feels stiff, remove it and ensure it’s properly aligned with the valve stem.
3. Low Water Pressure:
- If the water flow is weak, clean the aerator on the faucet spout. Mineral buildup can block water flow over time.
Pro Tips for a Smooth Replacement
- Read the Instructions: Every faucet is slightly different. Be sure to follow the manufacturer’s guidelines for your specific model.
- Take Photos: Before removing the old faucet, snap a few photos to reference during installation.
- Know When to Call a Pro: If you encounter major plumbing issues, don’t hesitate to contact a professional.
The Benefits of Replacing Your Bathtub Faucet
Replacing your bathtub faucet isn’t just about fixing leaks—it’s also an opportunity to enhance your bathroom. Here are some benefits:
- Water Efficiency: Newer faucets are designed to use less water without sacrificing pressure.
- Modern Design: A sleek, modern faucet can transform the look of your bathroom.
- Improved Functionality: Enjoy smoother handle operation and better temperature control.
Conclusion
Replacing a bathtub faucet is a straightforward DIY project that can make a big impact on your bathroom. With the right tools, a little patience, and this step-by-step guide, you’ll have your new faucet installed in no time.
So, next time your old faucet starts acting up, don’t stress—just roll up your sleeves and get to work. You’ve got this!