Removing a toilet may seem like a daunting task, but with the right tools and guidance, it’s a manageable DIY project. Whether you’re replacing an old toilet, upgrading your bathroom, or making plumbing repairs, learning how to remove a toilet is an essential skill that can save you time and money.
This guide will walk you through the process step by step, covering everything from turning off the water to preparing for a new installation.
Why You Might Need to Remove a Toilet
There are several reasons why you might need to remove a toilet:
- Replacing an Old or Damaged Toilet: Over time, toilets can become outdated, inefficient, or cracked.
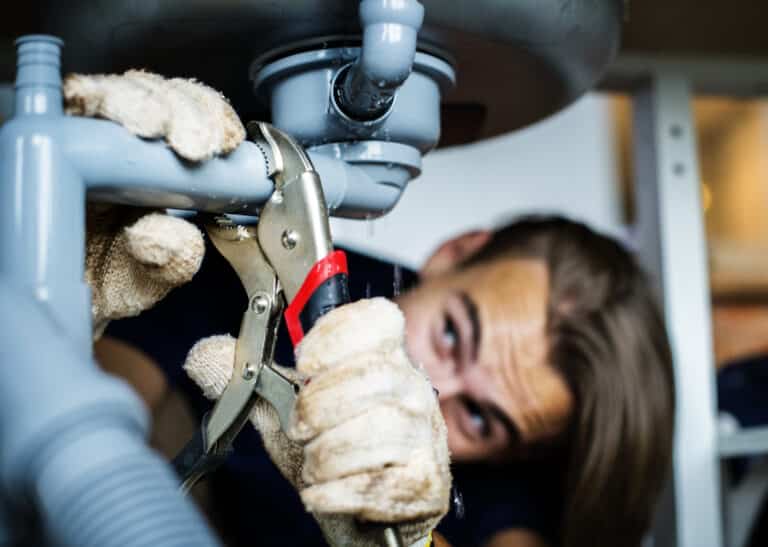
- Fixing Plumbing Issues: Leaks, clogs, or damaged pipes may require you to remove the toilet to access the plumbing beneath.
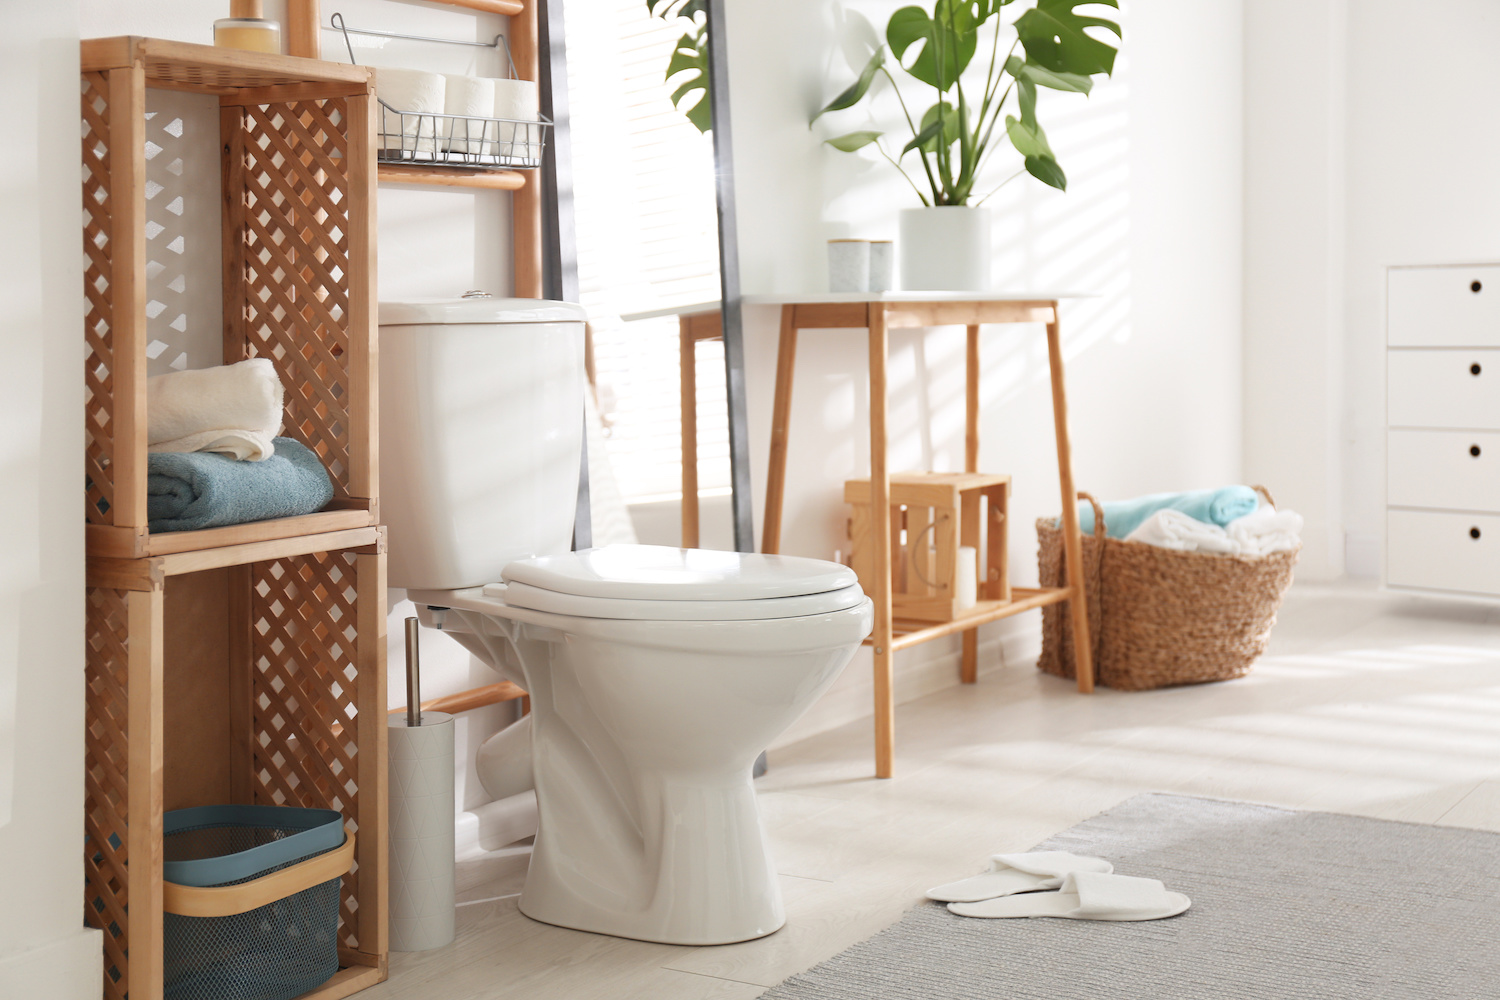
- Upgrading Your Bathroom: Installing a new, modern toilet can enhance both the aesthetics and functionality of your bathroom.
- Deep Cleaning: Sometimes, removing the toilet is the best way to thoroughly clean hard-to-reach areas.
Whatever your reason, knowing how to properly remove a toilet will make the process smoother.
Tools and Materials You’ll Need
Before you get started, gather the necessary tools and materials:
- Adjustable wrench or socket wrench
- Screwdriver (flathead and Phillips)
- Putty knife or scraper
- Rubber gloves
- Towels or rags
- Bucket
- Sponge
- Plunger (optional)
- Plumber’s tape
- Replacement wax ring (if reinstalling or replacing the toilet)
- Trash bags or plastic sheeting
Having these items on hand will help you complete the job efficiently and minimize mess.
Step 1: Turn Off the Water Supply
The first step in removing a toilet is to shut off the water supply to prevent any leaks or spills.
- Locate the Shut-Off Valve: Typically found on the wall behind or near the toilet, this valve controls the water flow.
- Turn the Valve Clockwise: Twist the valve until it’s fully closed. This will stop water from flowing into the toilet tank.
- Flush the Toilet: Press the flush lever to drain as much water as possible from the tank and bowl.
- Remove Remaining Water: Use a sponge or towel to soak up any remaining water in the tank and bowl. A small bucket can also help scoop out water.
Step 2: Disconnect the Water Supply Line
Once the water is off and the toilet is mostly dry, it’s time to disconnect the water supply line.
- Locate the Connection Point: The supply line connects the shut-off valve to the toilet tank.
- Unscrew the Nut: Use an adjustable wrench to loosen the nut where the supply line meets the tank. Be prepared for a small amount of water to drip out.
- Set Aside the Supply Line: Once disconnected, move the supply line out of the way.
Step 3: Remove the Toilet Tank (Optional)
For easier handling, especially if you’re working alone, consider removing the toilet tank before tackling the bowl.
- Locate the Tank Bolts: These are usually under the tank, connecting it to the bowl.
- Unscrew the Bolts: Use a wrench to loosen and remove the nuts securing the tank to the bowl.
- Lift the Tank Off the Bowl: Carefully lift the tank straight up and set it aside on a towel or soft surface.
Step 4: Loosen and Remove the Toilet Bowl
Now it’s time to focus on the toilet bowl itself.
- Locate the Floor Bolts: These are on either side of the toilet base, often covered by decorative caps.
- Remove the Caps: Pry off the caps with a flathead screwdriver.
- Unscrew the Bolts: Use a wrench to loosen and remove the nuts securing the toilet to the floor.
- Rock the Toilet Gently: Wiggle the toilet back and forth to break the seal of the old wax ring.
- Lift the Toilet: With the seal broken, lift the toilet straight up. Toilets can be heavy, so consider getting help if needed.
- Place the Toilet on a Towel: Set the toilet aside on a towel or plastic sheeting to prevent mess.
Step 5: Remove the Old Wax Ring
The wax ring forms a watertight seal between the toilet and the drainpipe. Once the toilet is removed, you’ll need to replace this ring.
- Scrape Off the Old Wax: Use a putty knife or scraper to remove the old wax from the toilet flange (the metal or plastic ring at the drain opening).
- Dispose of the Wax Properly: Place the old wax in a trash bag to avoid a sticky mess.
- Inspect the Flange: Check the toilet flange for any damage. If it’s cracked or broken, it will need to be repaired or replaced before installing a new toilet.
Step 6: Prepare for a New Installation
If you’re planning to install a new toilet immediately, take a few preparatory steps:
- Clean the Area: Wipe down the floor and surrounding area to remove any debris.
- Install a New Wax Ring: Place a new wax ring on the flange, ensuring it’s properly aligned.
- Check the Flange Bolts: Ensure the bolts on the flange are upright and secure for the new toilet installation.
Step 7: Dispose of the Old Toilet
If you’re not reinstalling the same toilet, you’ll need to dispose of the old one responsibly.
- Check Local Regulations: Some areas have specific guidelines for disposing of old toilets.
- Recycle: If possible, recycle the porcelain parts. Many recycling centers accept old plumbing fixtures.
- Schedule a Pickup: Contact your local waste management service for bulk item pickup or take the toilet to a designated disposal site.
Step 8: Troubleshooting Common Issues
Here are some common problems you might encounter during the process and how to address them:
- Stuck Bolts: If the floor bolts are rusted or stuck, use a penetrating oil to loosen them. In extreme cases, you may need to cut them off with a hacksaw.
- Water Leakage: Ensure the shut-off valve is completely closed before starting. Use towels to catch any unexpected drips.
- Cracked Flange: If the toilet flange is damaged, you’ll need to replace it before installing a new toilet.
Conclusion: How to Remove a Toilet
Removing a toilet may seem intimidating, but with the right tools and a bit of patience, it’s a straightforward process. By following these steps, you’ll be able to tackle this DIY project with confidence, whether you’re replacing an old toilet, fixing plumbing issues, or giving your bathroom a fresh new look.
Once the old toilet is out, you’re ready for the next step: installing a brand-new one!