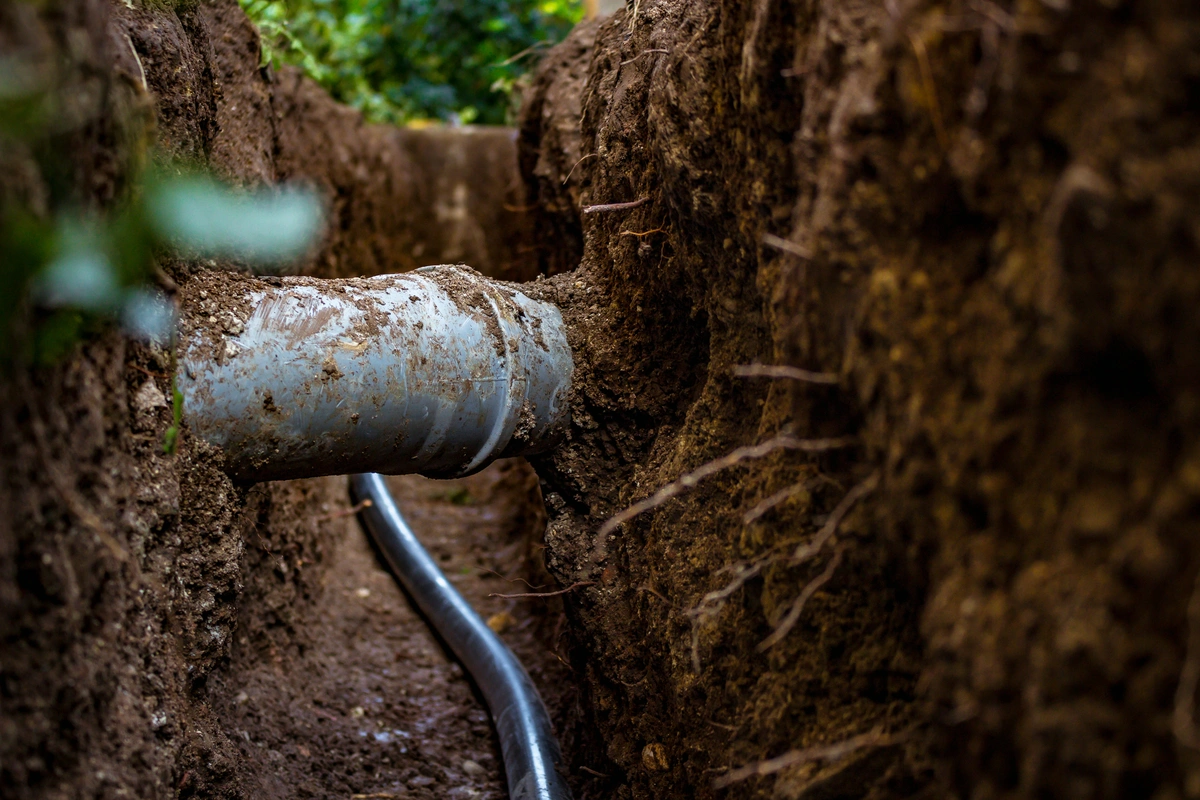
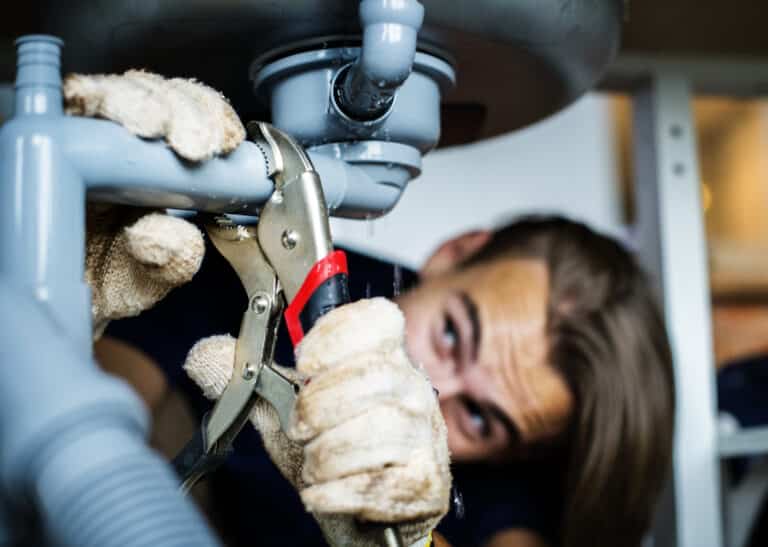
It can be challenging to repair water pipes underground. The most crucial information in this task is the requirement for precise planning and instructions, as well as the comprehensive manual that will direct the process of repairing an underground water supply pipe.
This guide will walk you through gathering the necessary tools and materials, locating the pipe, preparing for repairs, installing new pipe sections and connections, and testing for leaks before reburying. The procedure can be completed successfully if these instructions are followed.
Gather the Necessary Tools and Materials
Proper tools and materials are needed to successfully repair water pipes underground. These include a shovel or pickaxe, a hacksaw or reciprocating saw, pliers and wrenches, tubing cutters, Teflon tape or thread sealant, and silicone caulk.
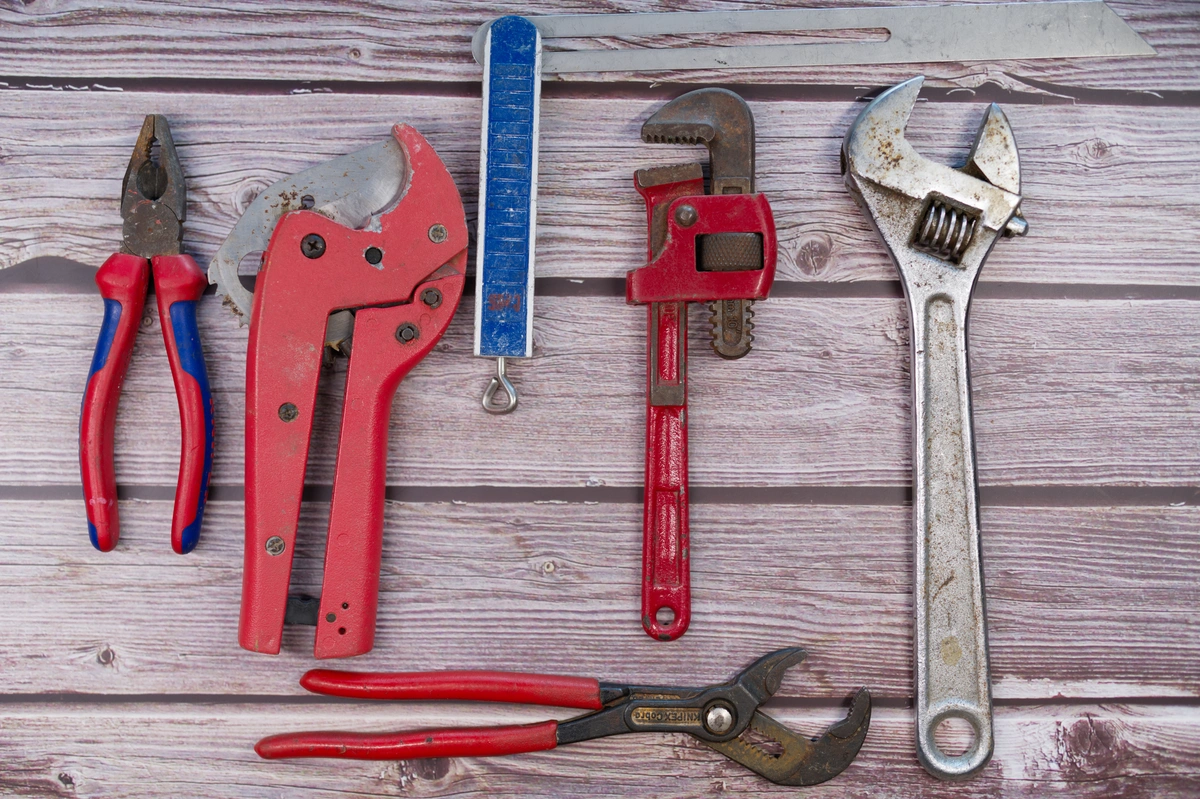
Keywords: Tools Needed; Shovel; Pickaxe; Hacksaw; Reciprocating Saw; Pliers; Wrenches Tightening Fittings & Clamps; Tubing Cutters Preparing New Sections Pipe; Teflon Tape Thread Sealant Watertight Connections; Silicone Caulk Protective Layer Pipes & Fittings.
Materials Needed:
- Replacement piping
- Couplings, tees, elbows
- Nipples, clamps, gaskets and end caps are needed for various sizes, and safety precautions should be taken before beginning any repairs to an underground water supply line.
Protective gear should be used, and any electrical equipment should be properly grounded. Check local excavation regulations, and some areas require permits before undertaking the work. Once all the necessary supplies have been gathered, it’s time to locate the pipe and take precautions to ensure no further damage occurs.
Locate the Water Pipes Underground
The most essential details to identify the source of a leak in a pipe are to look for signs of leakage, check for any dripping or hissing noises, and mark the location of the leak with chalk or tape. It is important to ensure that all safety precautions are taken when working near pipes as they can contain hazardous materials. After identifying the spot of the pipe, it is time to get ready to mend it and dig around it, cut out damaged sections, and clean new pieces.
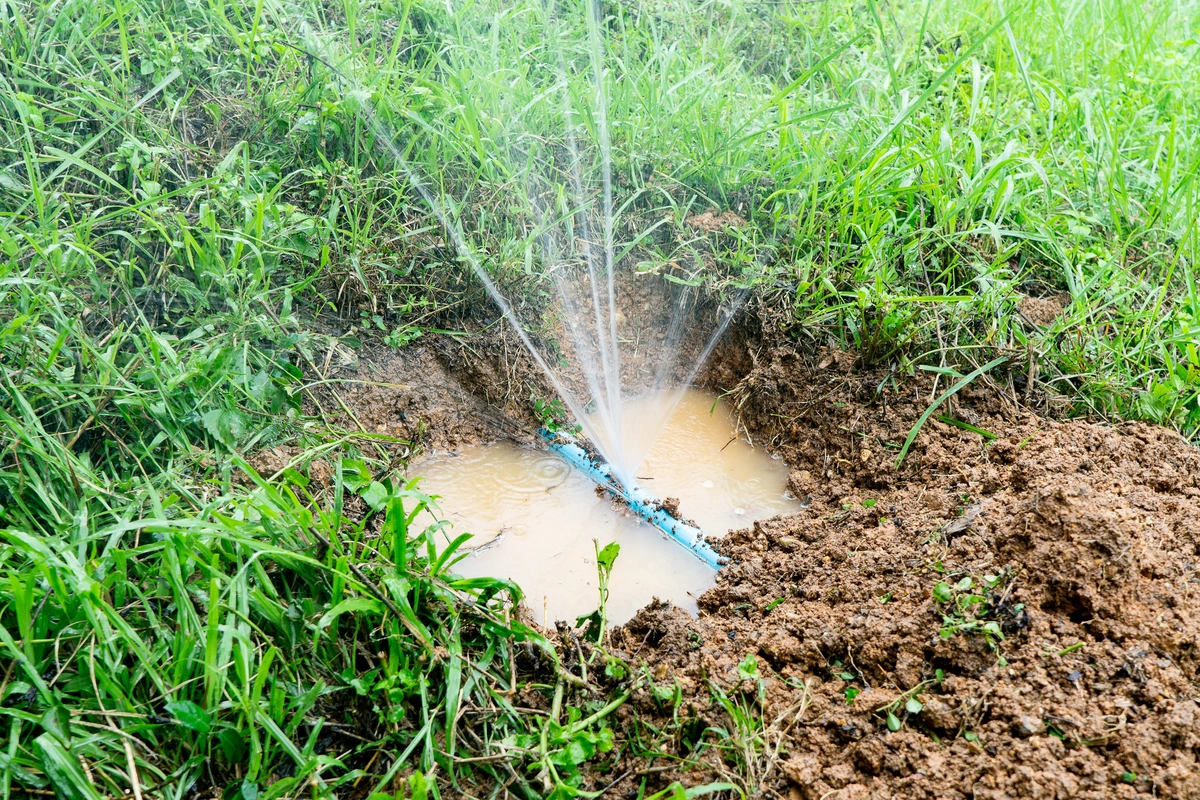
Prepare to Repair the Pipe
When preparing to repair a water pipe underground, it is critical to dig around it. It is essential that no other pipes or utilities are damaged. Using a hacksaw, reciprocating saw, or power miter saw, cut out damaged sections of pipe before replacing them with new pieces.
To ensure a reliable joint, all connections must be checked and tightened before proceeding. Understanding how to use fittings and clamps for pipe joining is critical.
Install New Sections of Pipe and Connections
The repair process for installing new sections of pipe requires precision and skill. The length and angles of the existing pipe must be measured, and the appropriate length of replacement piping must be done with a hacksaw or power saw.
Connecting pipes with fittings and clamps must be determined, and the size and shape of the two pipes being joined together should be determined. The plastic tape should be tied around threaded connections and tightly secured. Leak tests and the repaired section of the pipe are reburied.
Test for Leaks and Rebury the Pipe
Leak testing is an essential step in the pipe repair process to ensure successful repairs. The pressure of the water flowing through the repaired section should be measured using a pressure gauge or a water meter. Pipes should be filled with soil, firmly tamped down until level with the existing ground surface, and then covered with grass seed or sod to prevent future damage.
FAQs On How to Repair an Underground Water Supply Pipe
How do you fix a broken water pipe underground?
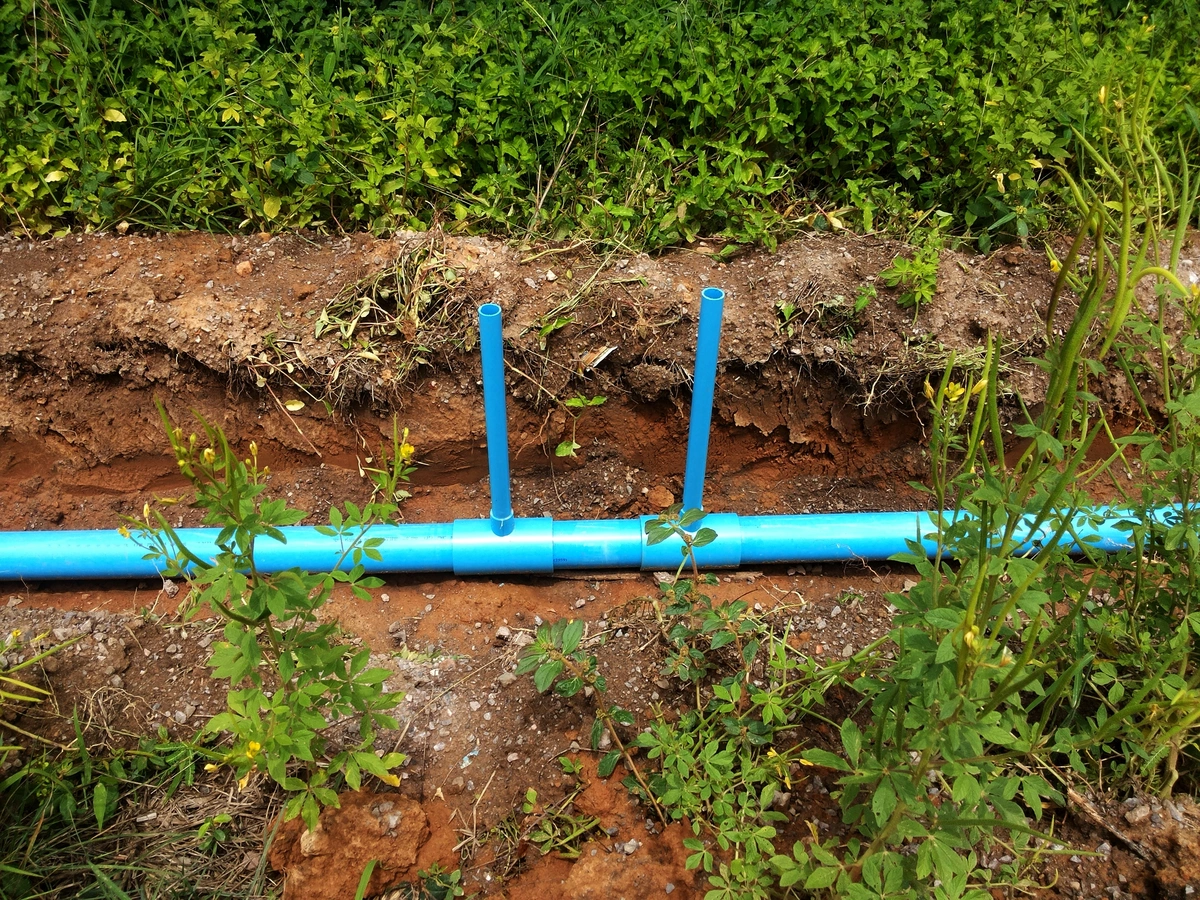
The most important details of the phrases water, similar tool, stethoscope, excavation, and repair are that the source of the leak must be identified and then excavated to access and repair it through listening for running water. The broken section must be removed and replaced with new piping that is compatible with the existing infrastructure. All connections should be tested for leaks, and all safety protocols must be followed when working with potentially hazardous materials.
How do you fix a broken PVC pipe underground?
The first step in waterpipe underground repair is to locate the break. This can be accomplished by digging around the suspected area of damage or by using an electronic leak detector. Once found, excavate enough soil around the pipe to allow it to be removed and replaced with a new section of pipe. Before re-burying pipes in soil, use appropriate fittings and sealant to ensure proper connection. Finally, turn on the water supply to check for leaks before re-covering the repair site with ground cover.
How do you fix a leaky water supply line?
To repair a leaking water supply line, turn off the main water valve, locate the source of seepage, and replace any corroded or broken components with new ones. Plumber’s tape should be used to ensure all connections are properly sealed. Running taps throughout the home until you are satisfied there are no leaks is a good way to test your work.
How do you fix a copper pipe underground?
You must first identify the damaged area to repair a copper pipe underground. To locate the faulty section, use an electronic tool that emits sound waves and detects changes in pressure or impedance. When you’ve found it, use a hacksaw to cut away any excess material around the damaged area of the pipe, then sand it down. Then, before connecting the pipe ends with couplings or compression fittings, apply flux paste to both ends. Finally, use heat-resistant silver alloy to solder all connections until they are watertight and secure.
Black Tie Can Assist With Underground Plumbing
Repairing an underground water supply pipe can be difficult, but with the right supplies and equipment, it is possible. Taking the time to repair the piping step by step ensures that it is successfully repaired with no leaks or other problems. Contact Black Tie today for assistance with underground plumbing!

